

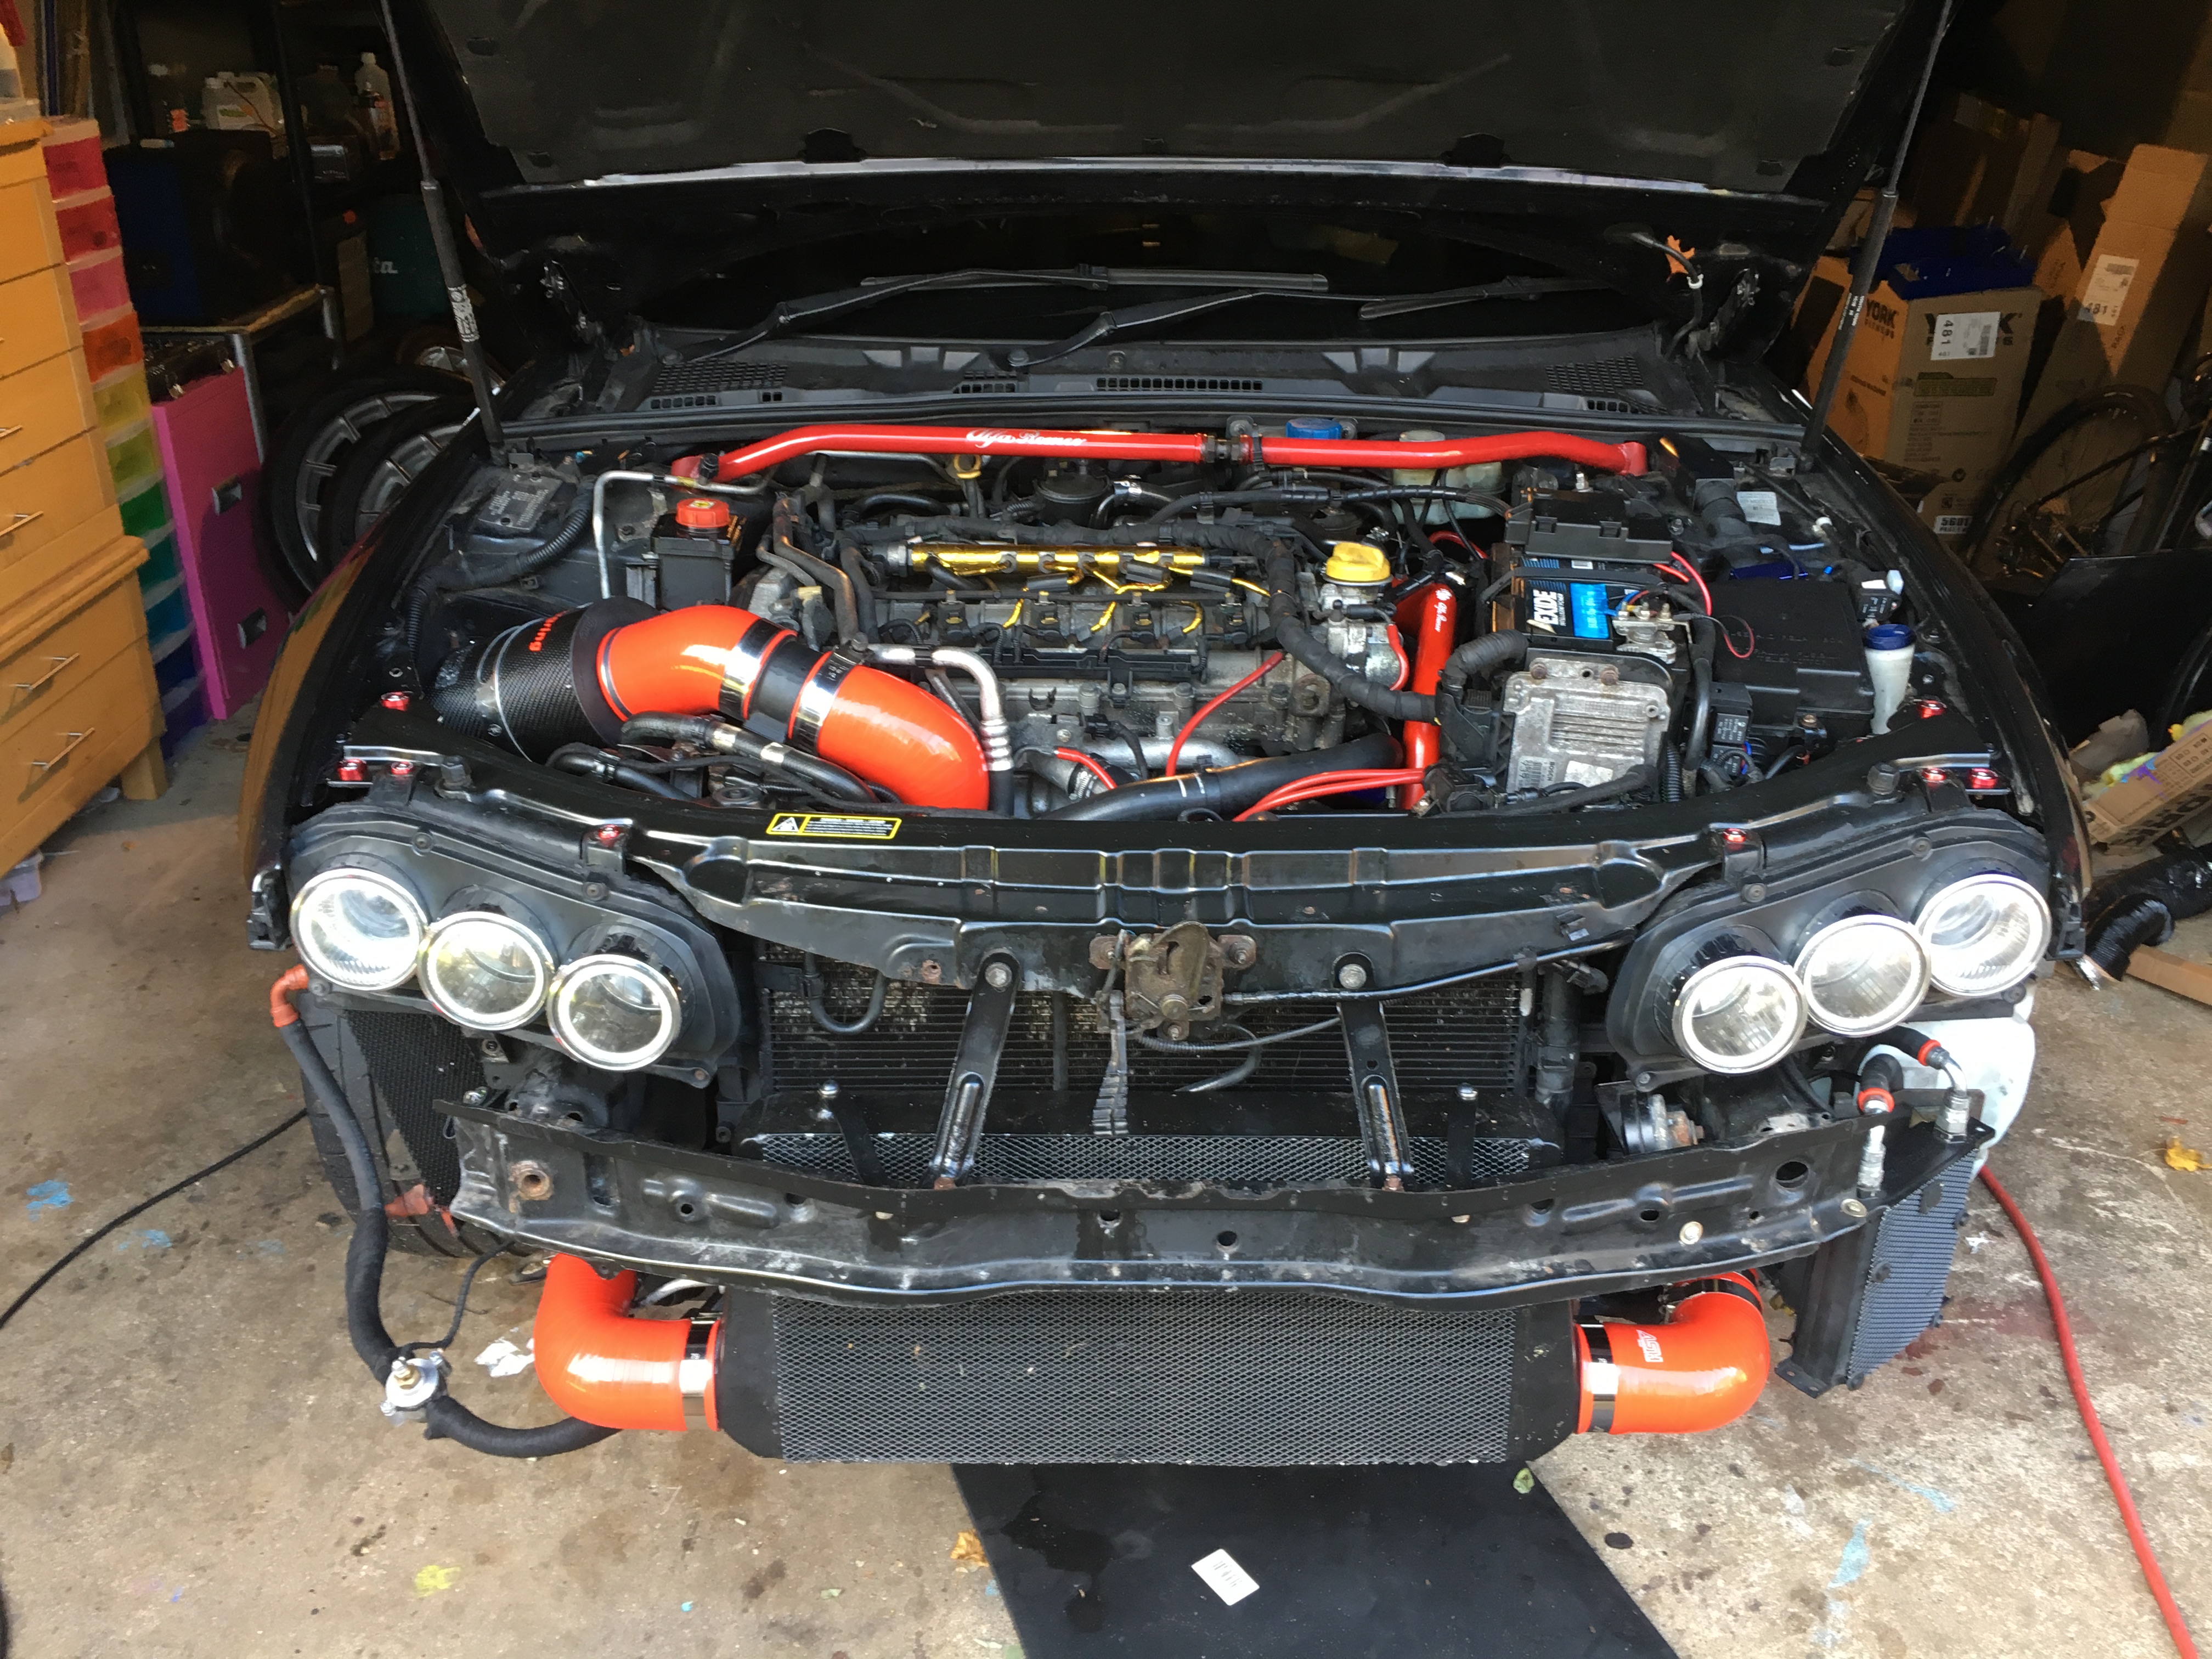
Part of any major power upgrade includes a Front Mount Intercooler conversion to enable the maximum airflow through the compression system, while maximising the cooling opportunity.
The stock intercooler on the 159 is quite restrictive and behind several radiators limiting good airflow to it and also has very restrictive ports for the airflow in and out of it. All due to size and placement options at the factory.
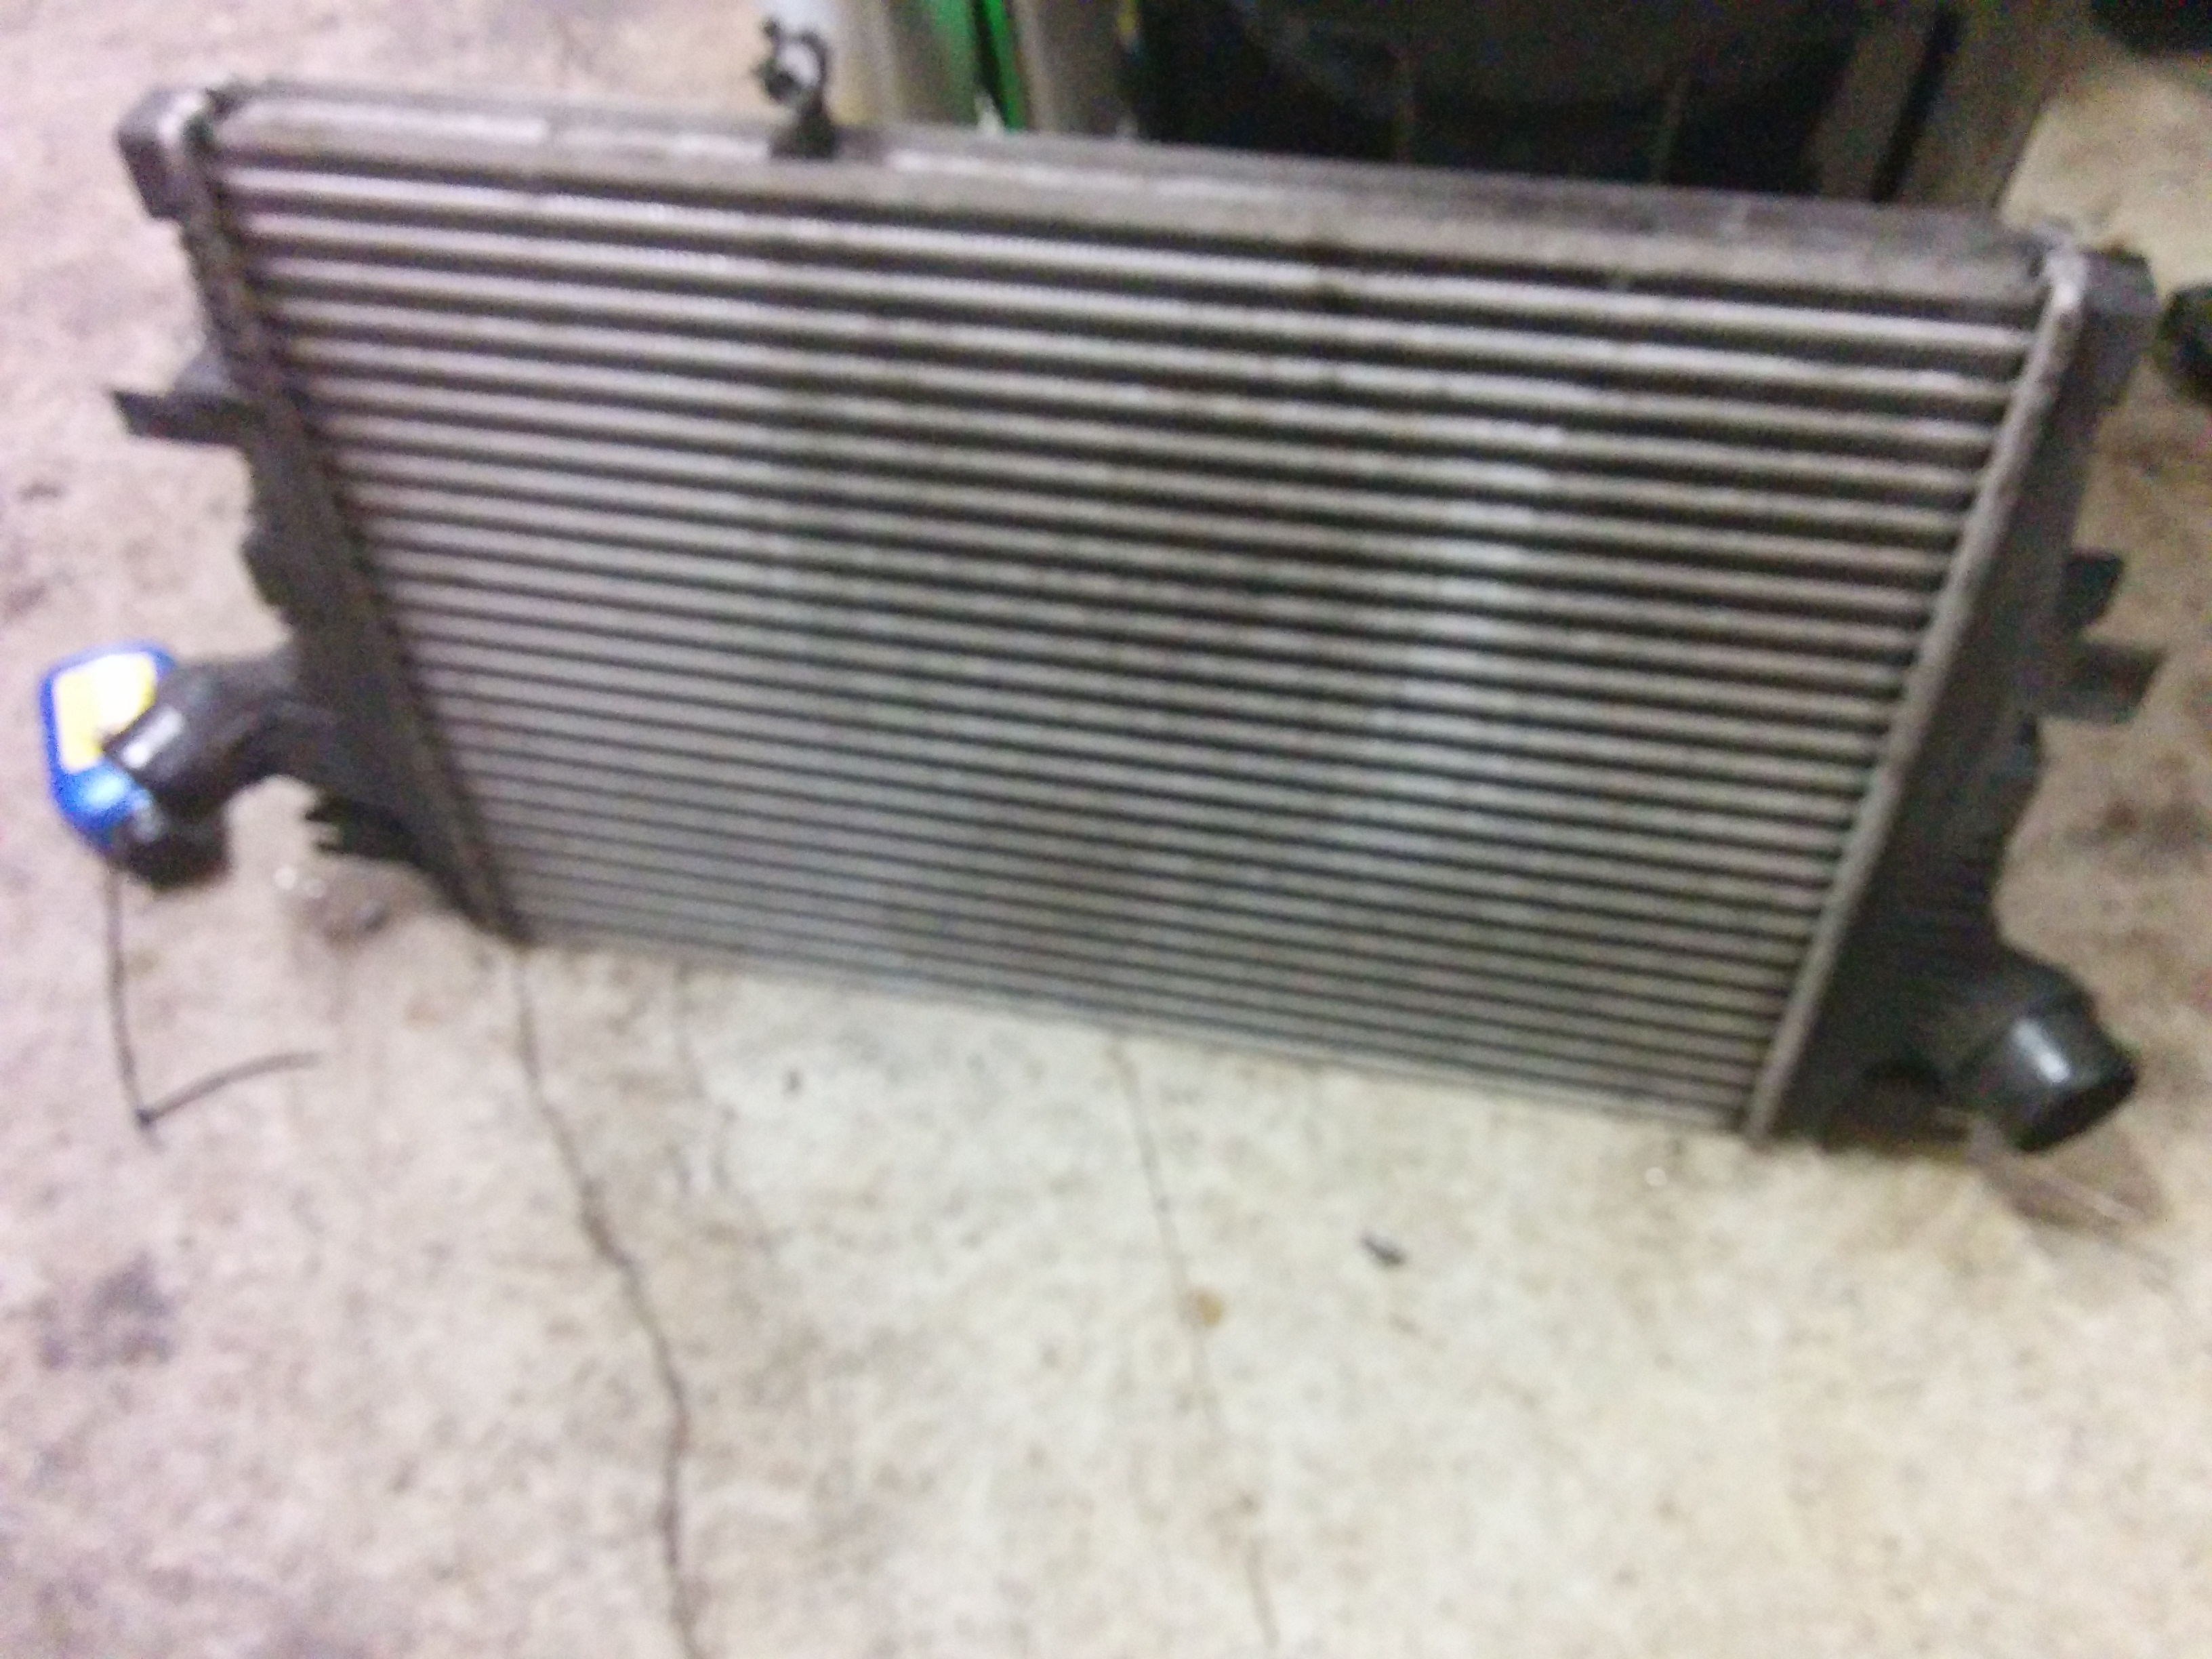
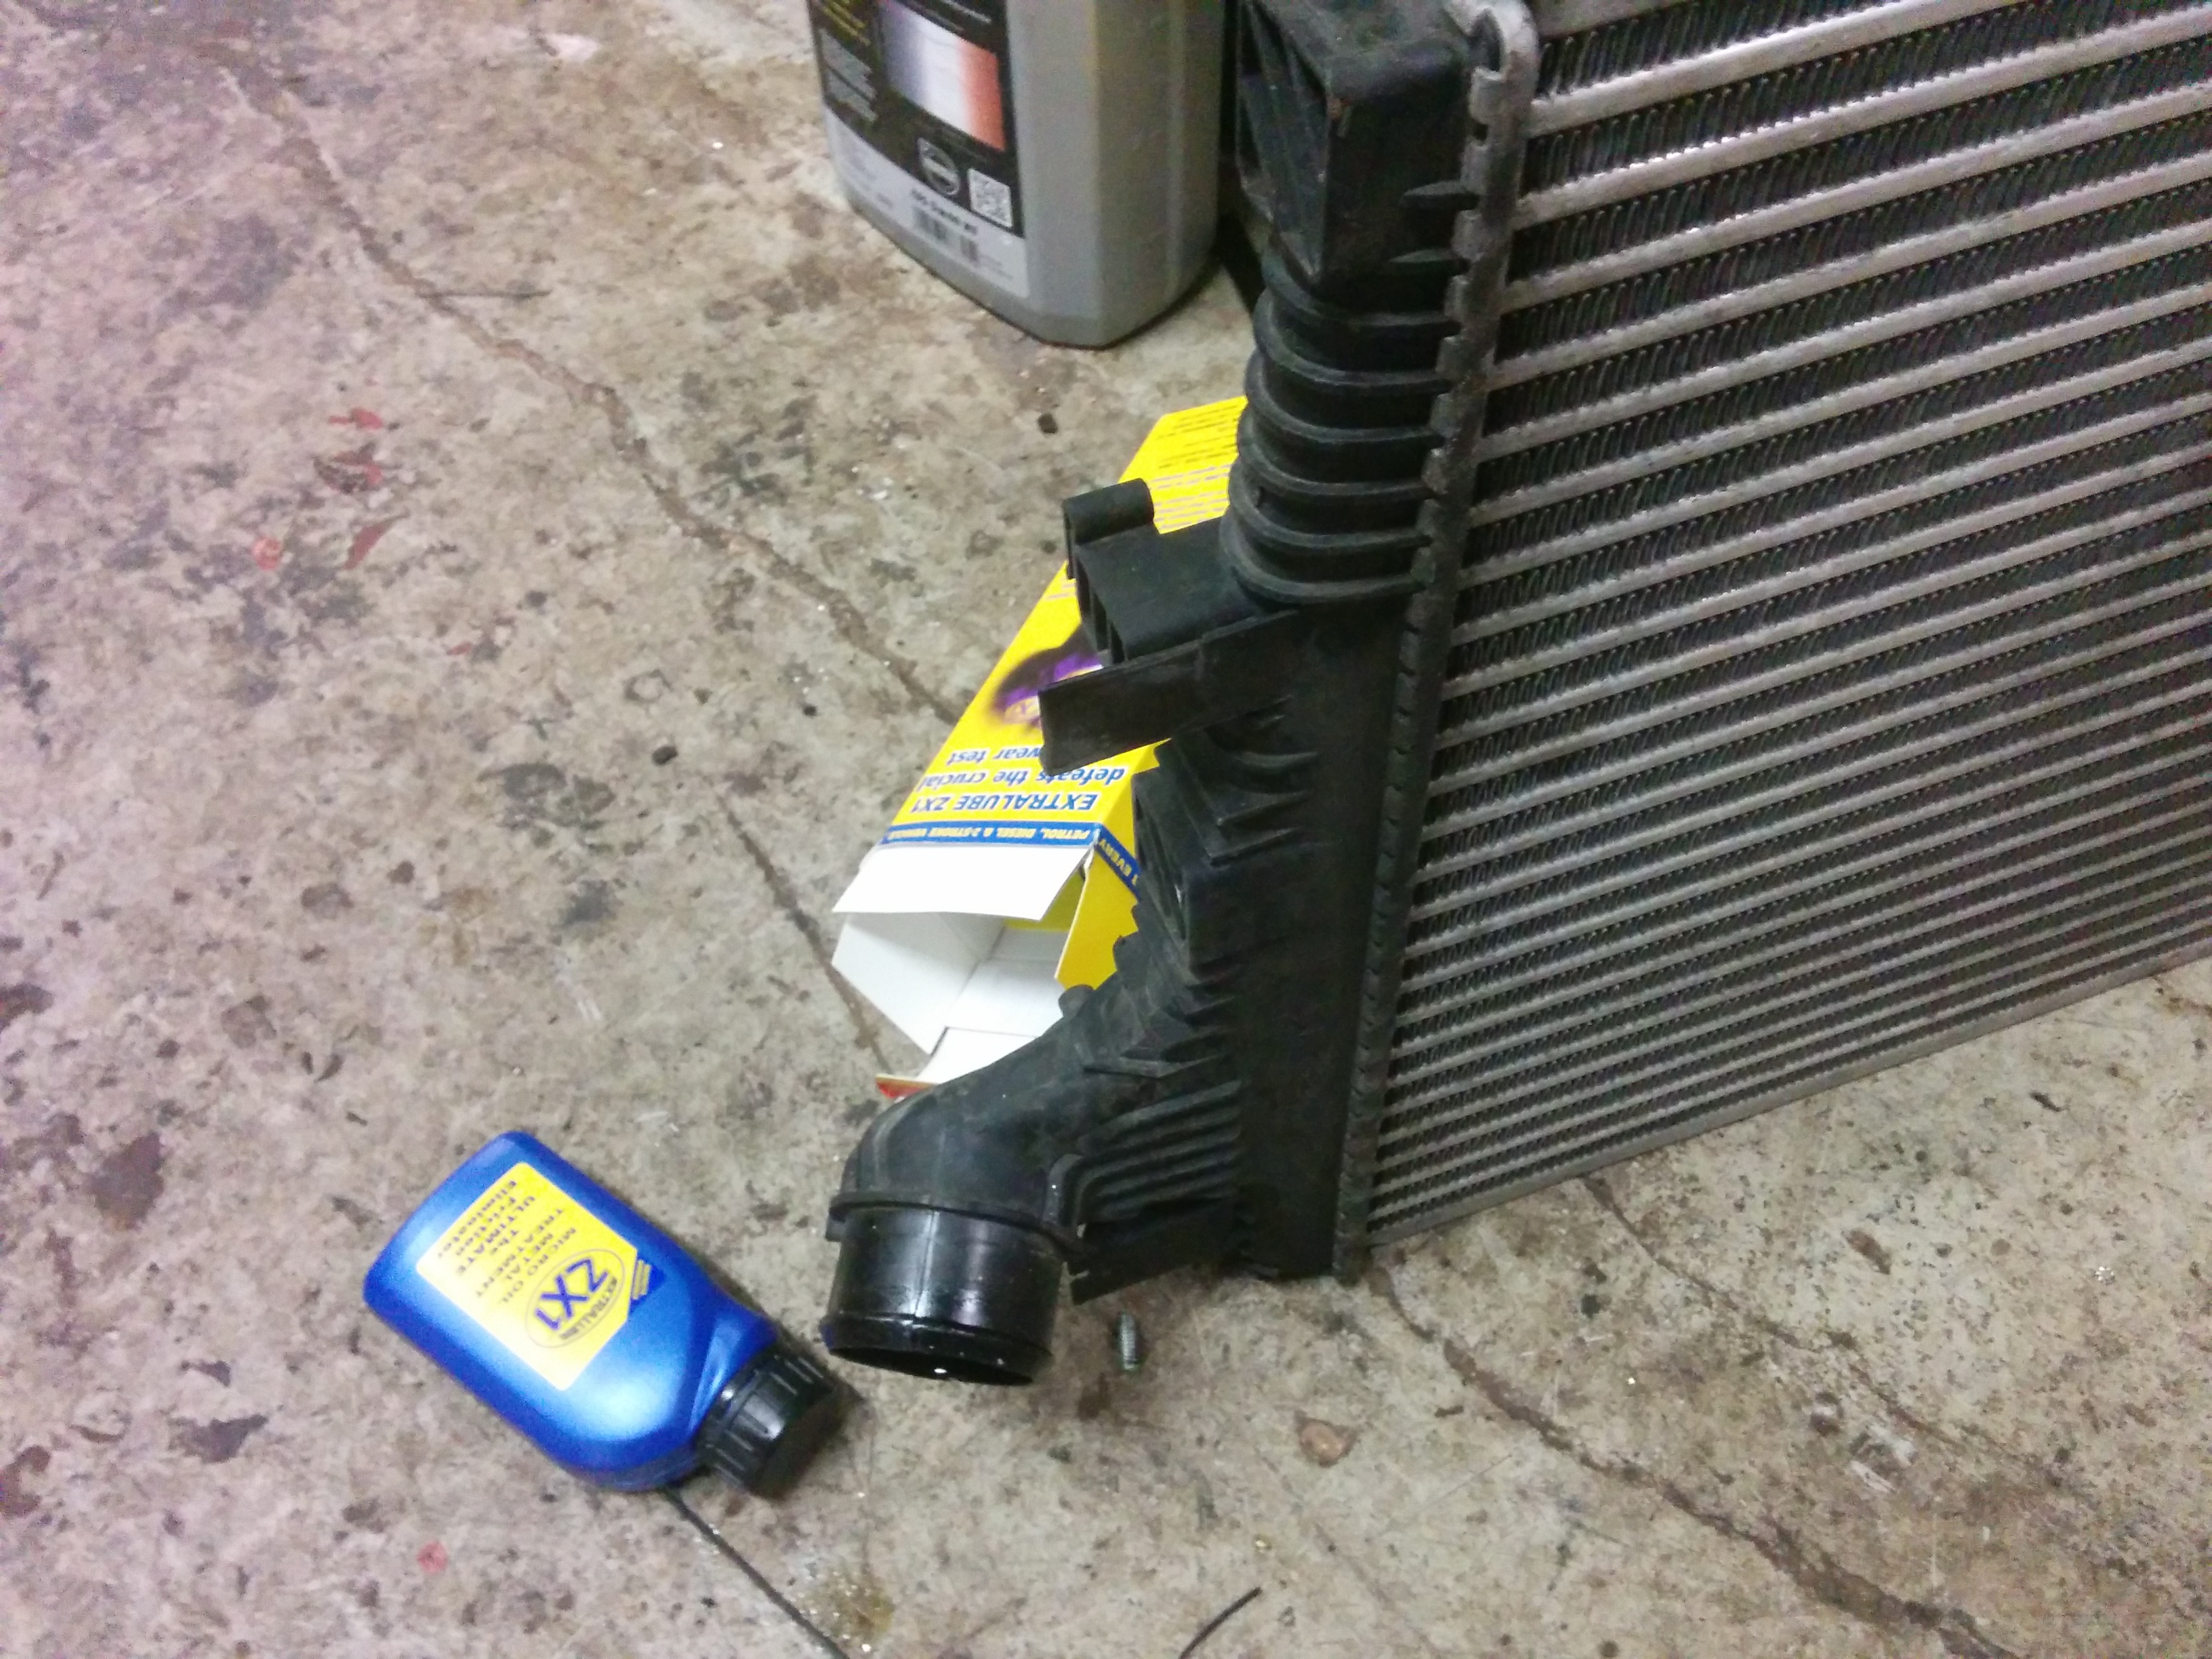
The stock pipework has an ID of 60-63mm so isn’t exactly huge, but is good enough for 3.5-4bar. Its the intercooler that could use a bit of an upgrade!
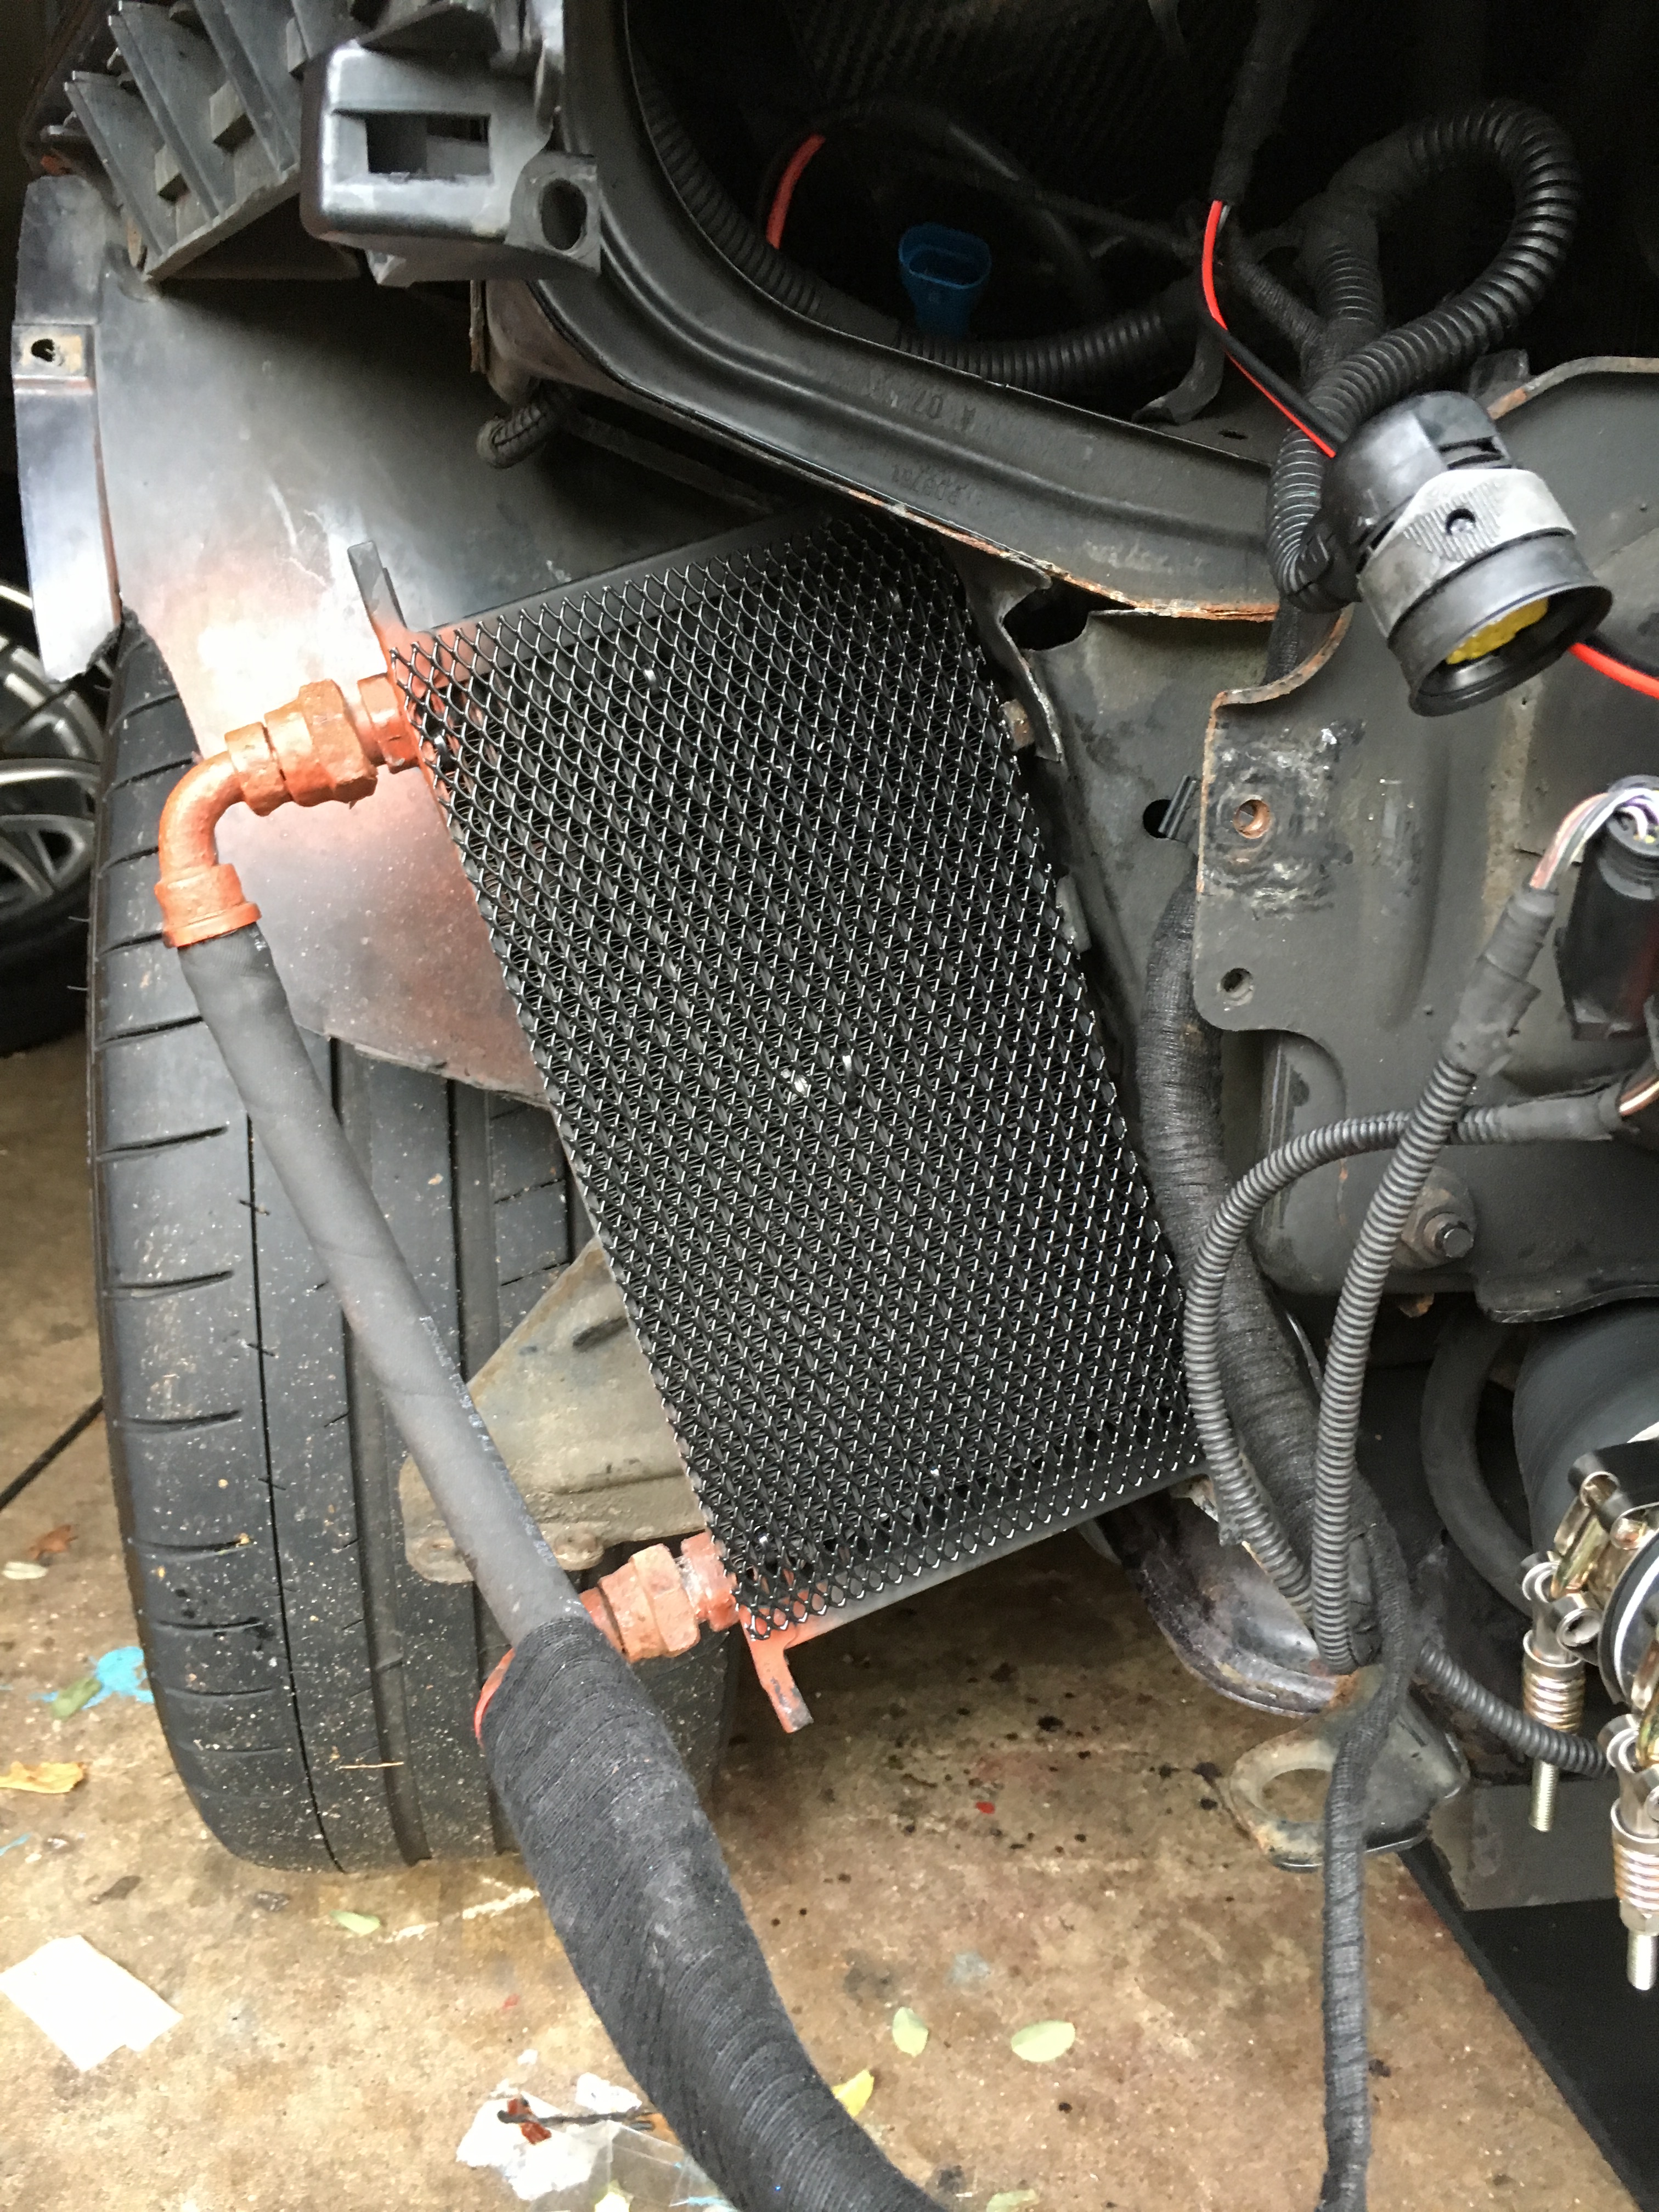
Once the stock intercooler is removed, all of the other radiators can shuffle around so that it goes (from the engine to the front of the car) Water Rad > Air Con Rad > Oil Rad > Power Steering Rad. All of these items clip to each other so removing the stock intercooler just allows you to put them all back in a different order without any further mods. You will likely need to have the aircon re-gassed and refill the cooling system as doing this without disconnecting those systems is extremely difficult!
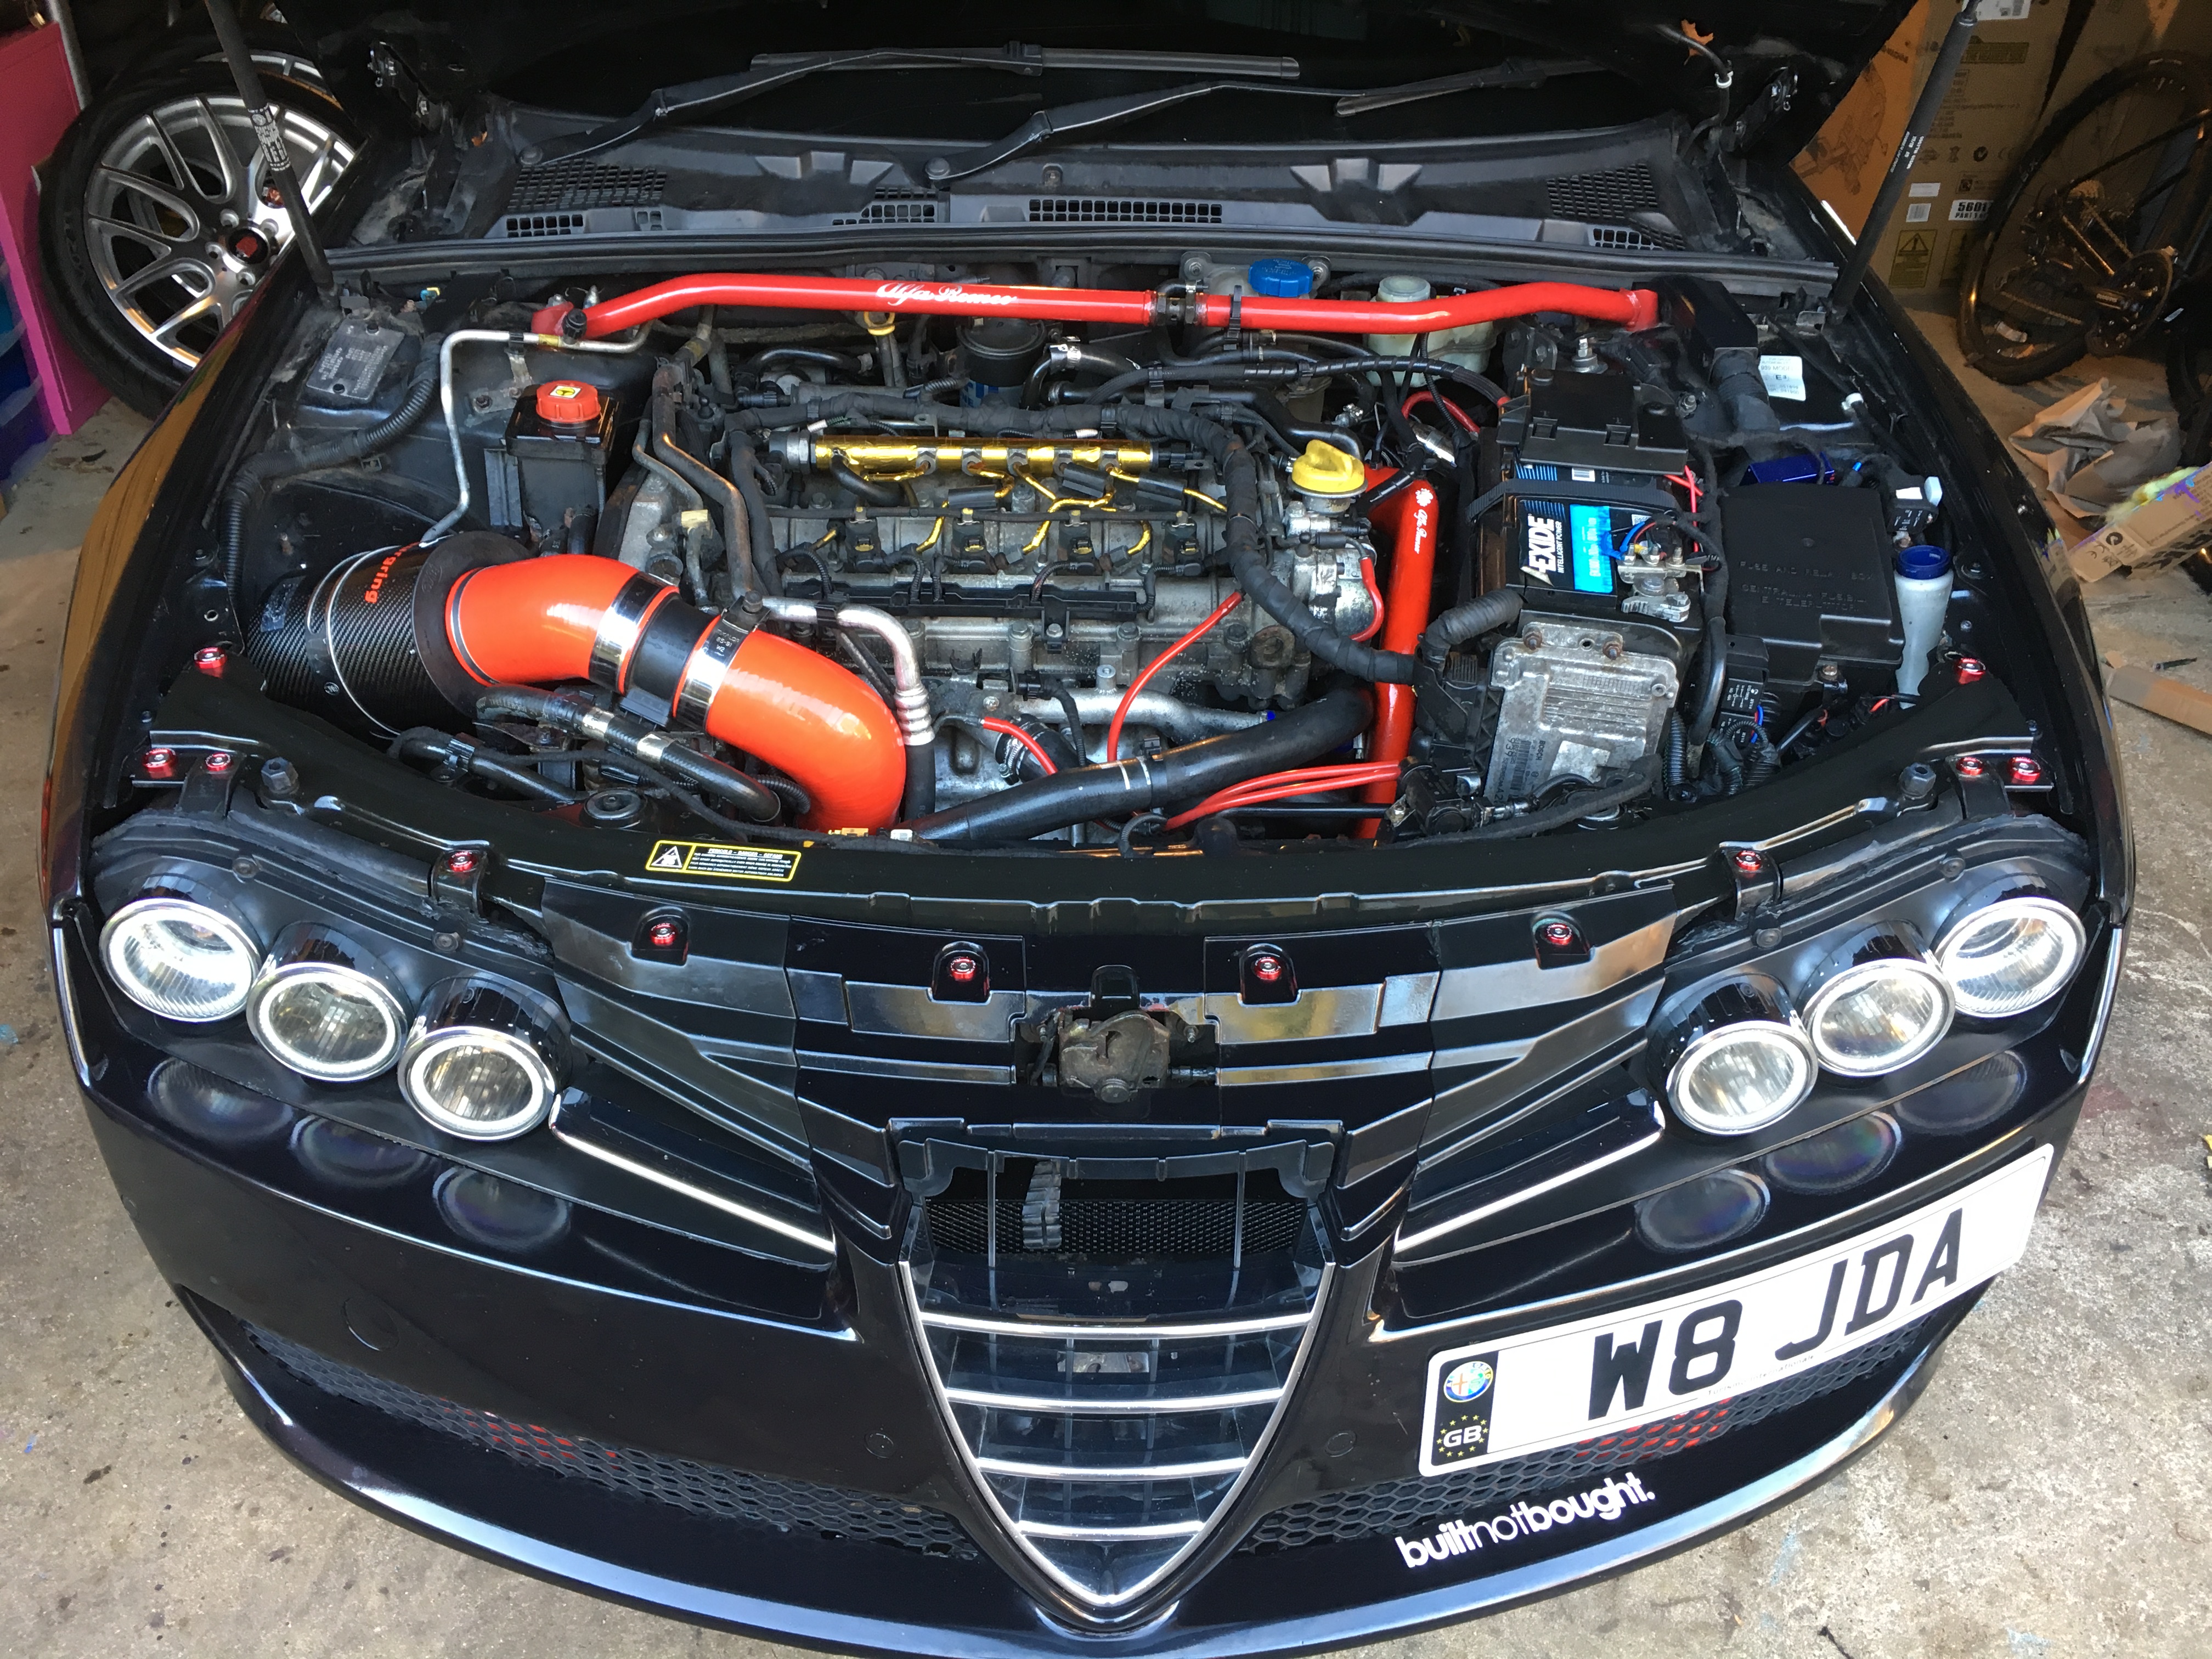
An optional upgrade is to remove the stock oil cooler and move that to a larger MOCAL unit located where the stock intake is, but this requires removal of the stock intake and all associated pipework and replacing with something like a BMC-CDA or Cone filter under the bonnet like I have done.

In terms of the parts needed for this conversion, it isn’t that many. Firstly, you need the right sort of intercooler, cheap and efficient! Fortunately, the JDM scene has us covered! They have a standard sized unit that has a 600x300x76mm core that is used in big power Supra and GTR upgrades. Its readily available on ebay for less than £100 delivered.
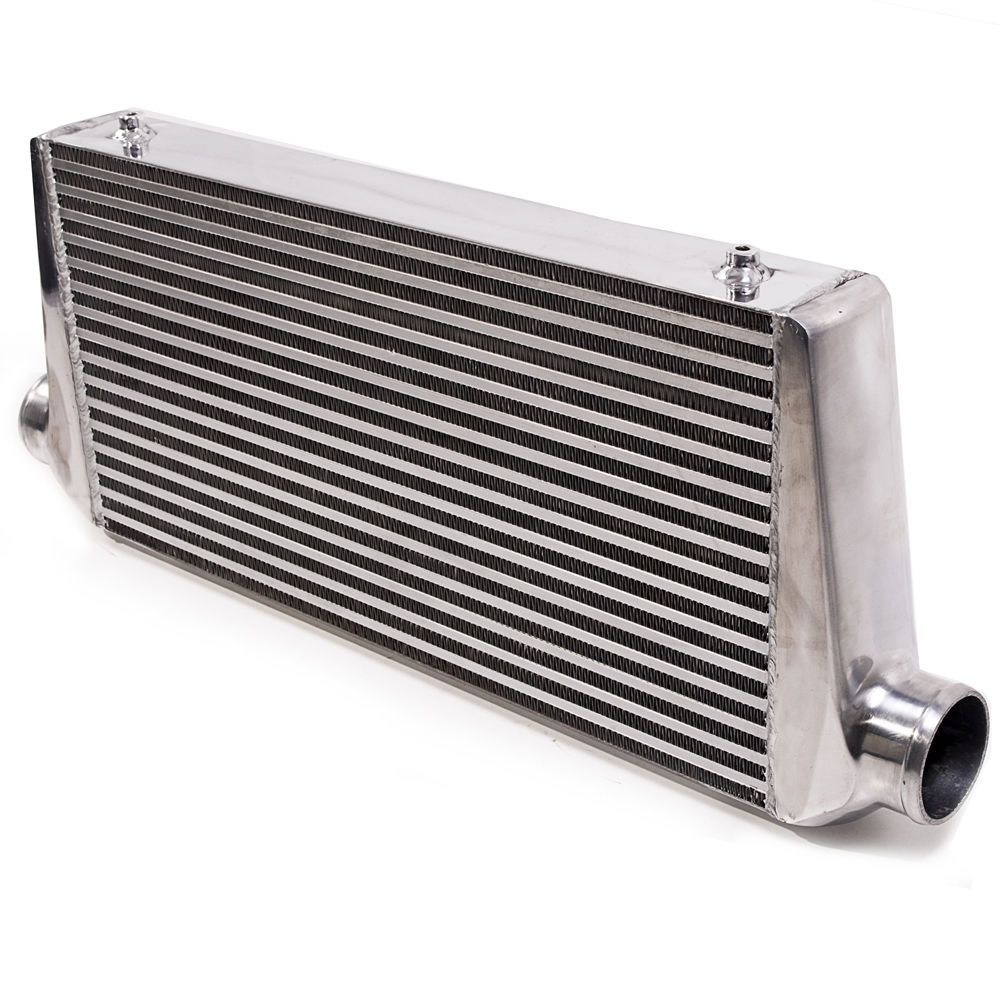
Make sure you buy the “bar and Plate” type rather than the “tube and fin” ones. The bar and plate type have additional internal structure designed to create turbulence in the airflow and maximise the cooling efficiency.
One thing I will say about these intercoolers; is they do not age well. While they turn up very shiny and polished, after about 2-3 months on the front of the car they go a horrible grey pitted colour that is quite unsightly! I therefore do recommend getting it painted black to help create the stealth look. Of course adding a layer of paint will reduce the efficiency slightly so make the layer as thin as possible.
There are arguments for and against painting the intercooler here:
For:
Against:
While the science is compelling, from experience of running the same setup painted and unpainted, there is nothing in it! I see extremely efficient cooling even with it painted black!
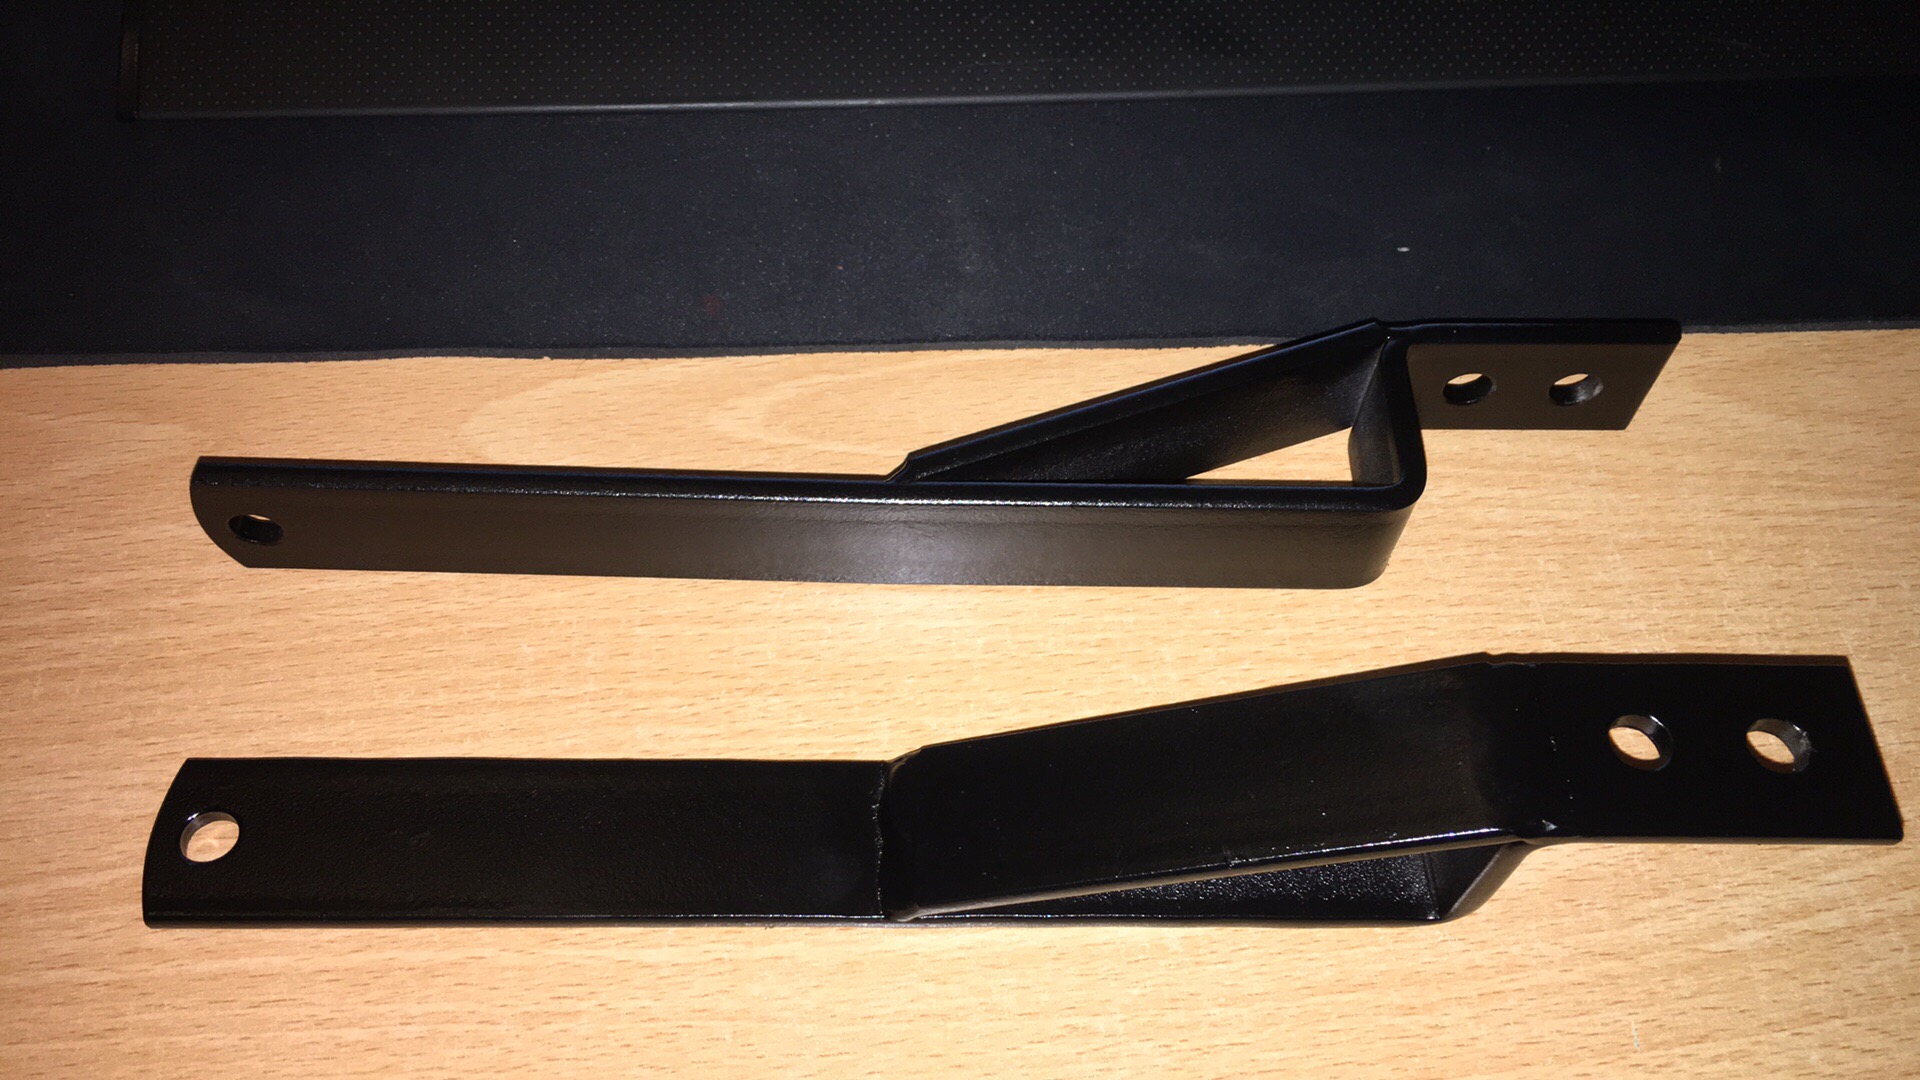
This unit, once bought, needs to be mounted. Fortunately, due to the shape of the 159/Brera there is a huge space up front where this can live with ease! I have designed some brackets that attach directly to the lower sub-frame and provide a mount for this, or any other intercooler. You can get these brackets made up at any local machine shop for £20-30.
The design can be downloaded free of charge:
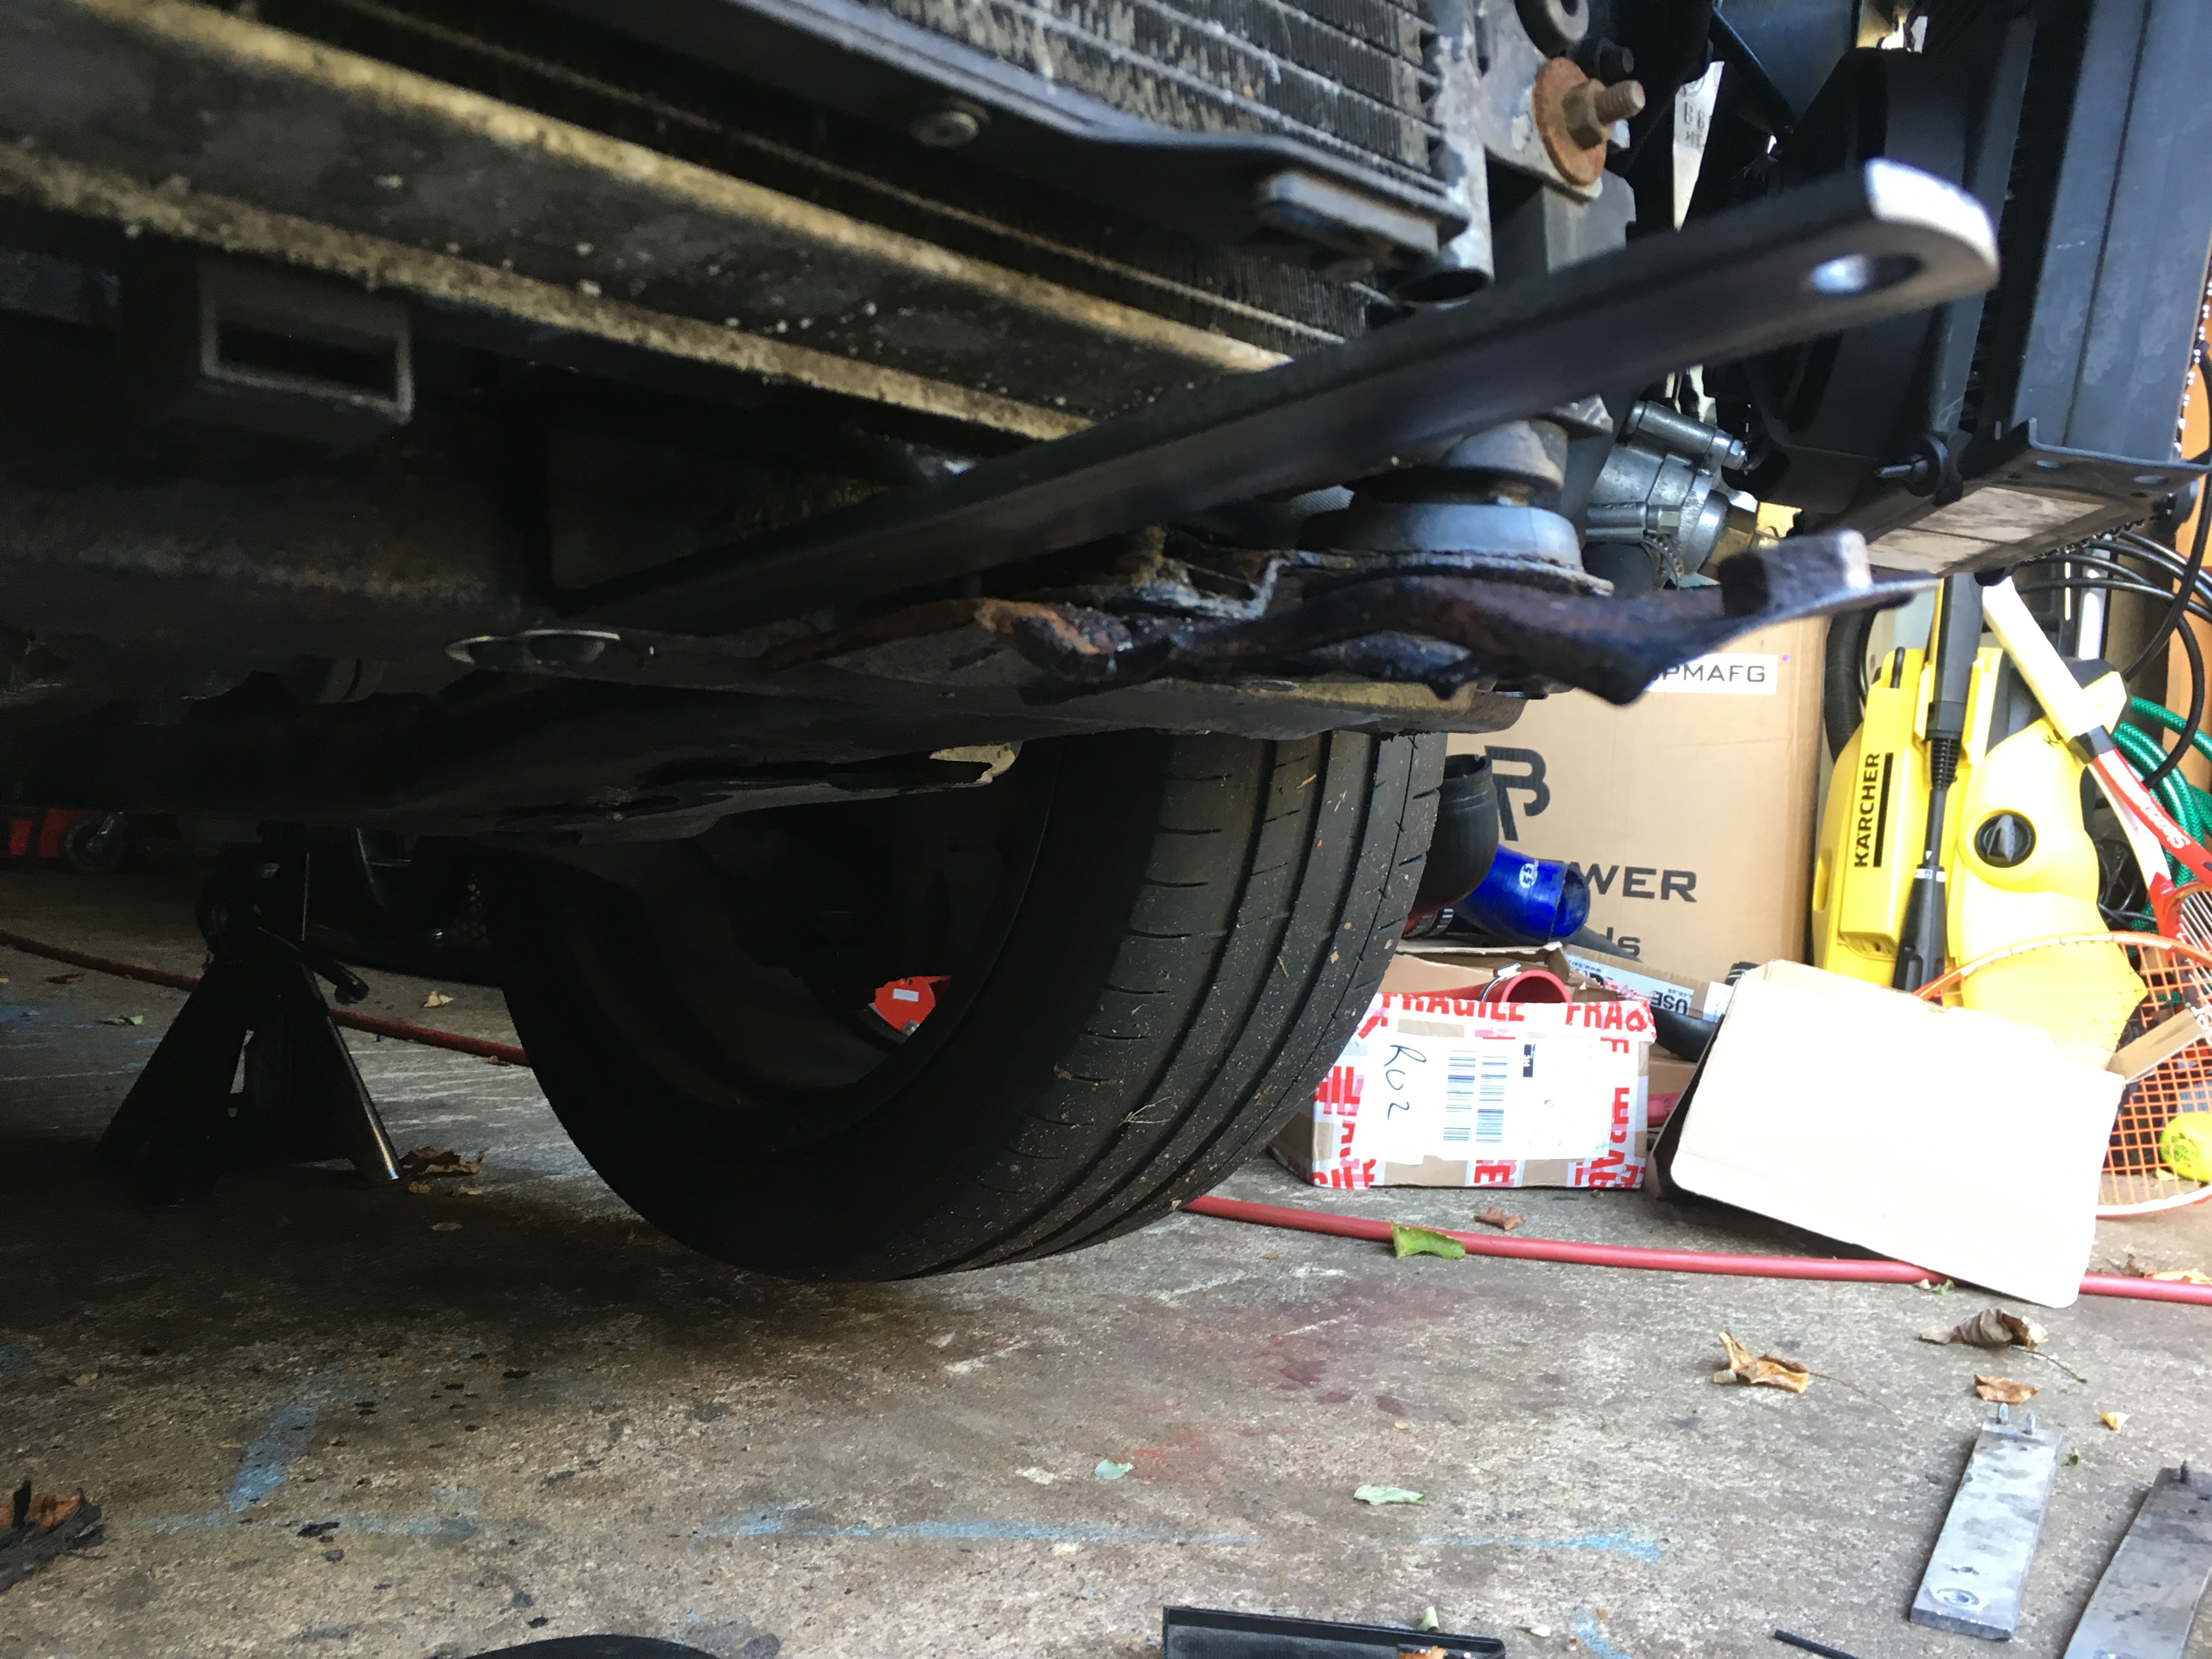

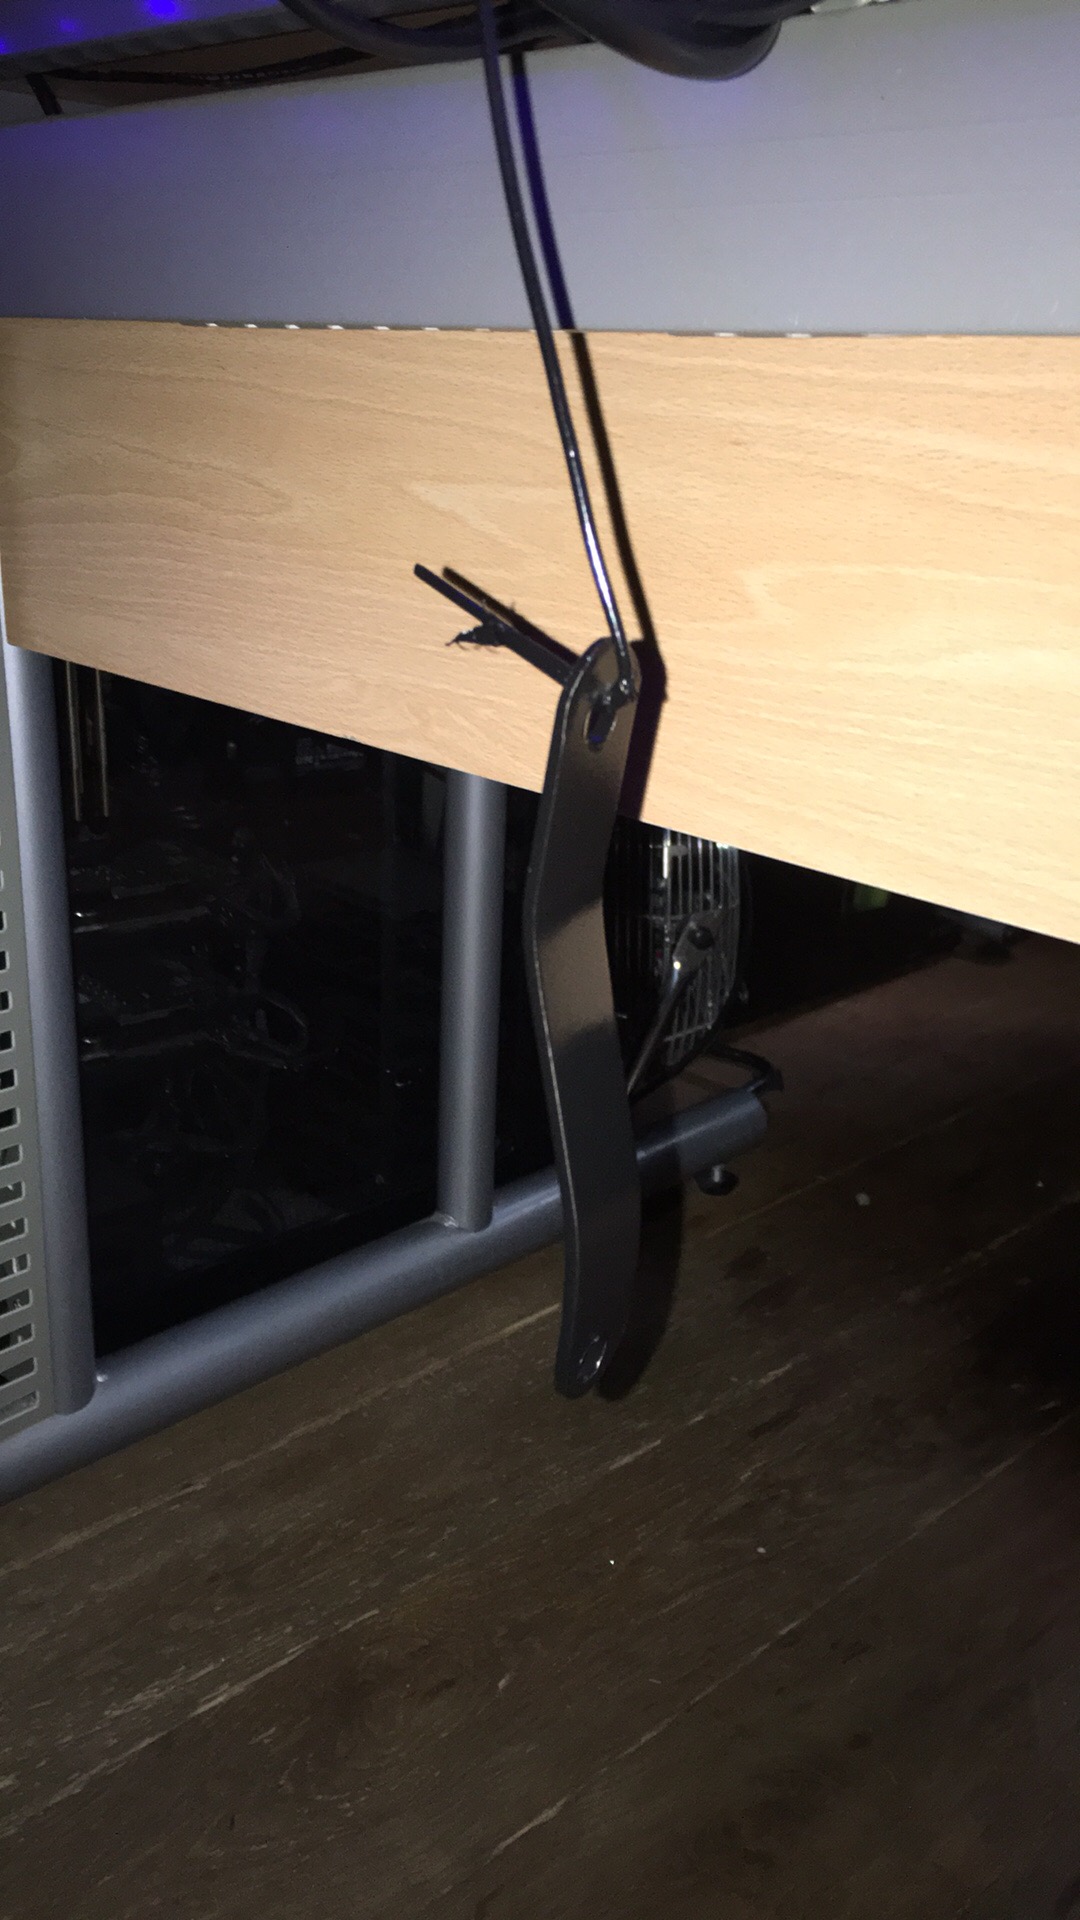
Once its mounted on the lower sub frame its very solid, but you will need to make some custom tie bars for the top that secure it to the front crash bar. I used some 1mm steel I had lying around and just cut and bent it to shape:
The Intercooler has M8 sockets welded onto it so you will need 4 x M8 bolts @ 12-14mm long to mount it to the brackets and the brackets will need 4 x M8 @ 50-55mm long to go through the lower sub frame.
The pipework is custom, so while I can tell you what bits you need, its up to you to measure and cut them! I strongly recommend watching this video on how to cut silicon pipes before starting:
You are going to need the following bits:
Hot Side (pre cooler)
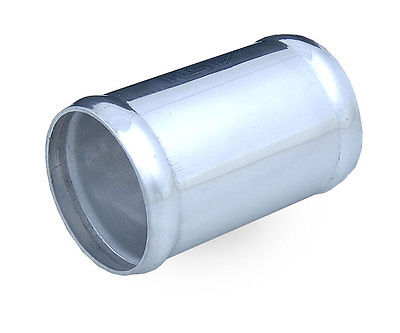
- 63mm Joiner (102mm long)
- 63 – 76 @90 degree reducer elbow
Cold Side (post cooler)
- 60mm Joiner (102mm long)
- 60 – 63 @45 degree reducer elbow
- 63 mm joiner (102mm long)
- 63 – 76 @90 degree reducer elbow
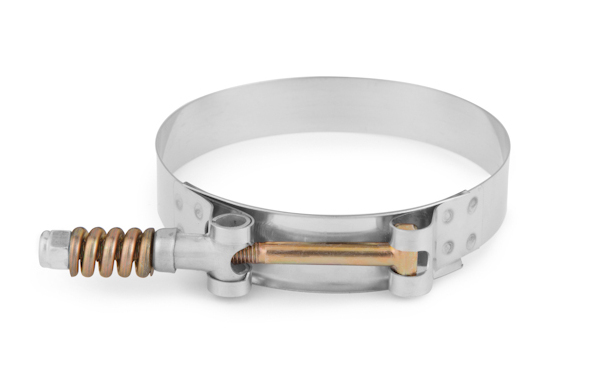
Mishimoto Constant Tension T-Bolt Clamps
- 6 x 2.75″ (for the 3 x joins)
- 2 x 3″ (for the FMIC)
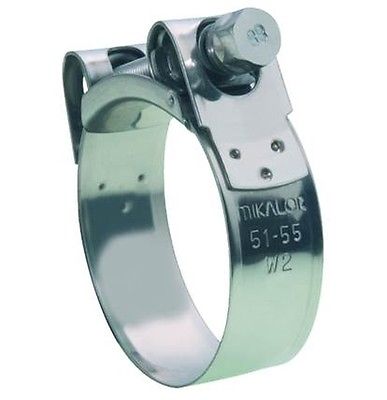
Mikalor W2 Stainless Steel Clamps
- 1 x 49-63mm (Cold side metal intake pipe)
- 1 x 55-59mm (Hot side turbo connection)
I can recommend ASH in the UK for the pipes and the joiners, I used them and they are great quality. They are on ebay here: http://stores.ebay.co.uk/autosiliconehosesoutlet/
Do not underestimate the clamps or the joiners! I have tried several different types of both and have had reliability issues resulting in boost hoses popping off at the most inconvenient times! Spend the money, get the best possible parts.The Mishimoto clamps are the best I have seen and provide an extremely good clamp with a system that allows for heat expansion and contraction without sacrificing grip.They dont make constant tension clamps small enough for the connections on the turbo or metal intake so I suggest using Mikalor clamps instead. A very strong clamp just without the heat expansion capability.
You can buy the clamps direct from Mishimoto or the usual ebay sources.
The ASH joiners have very significant insertion into the pipes so you can get lots of grip with the clamps and minimise potential movement that can work a join loose over time!
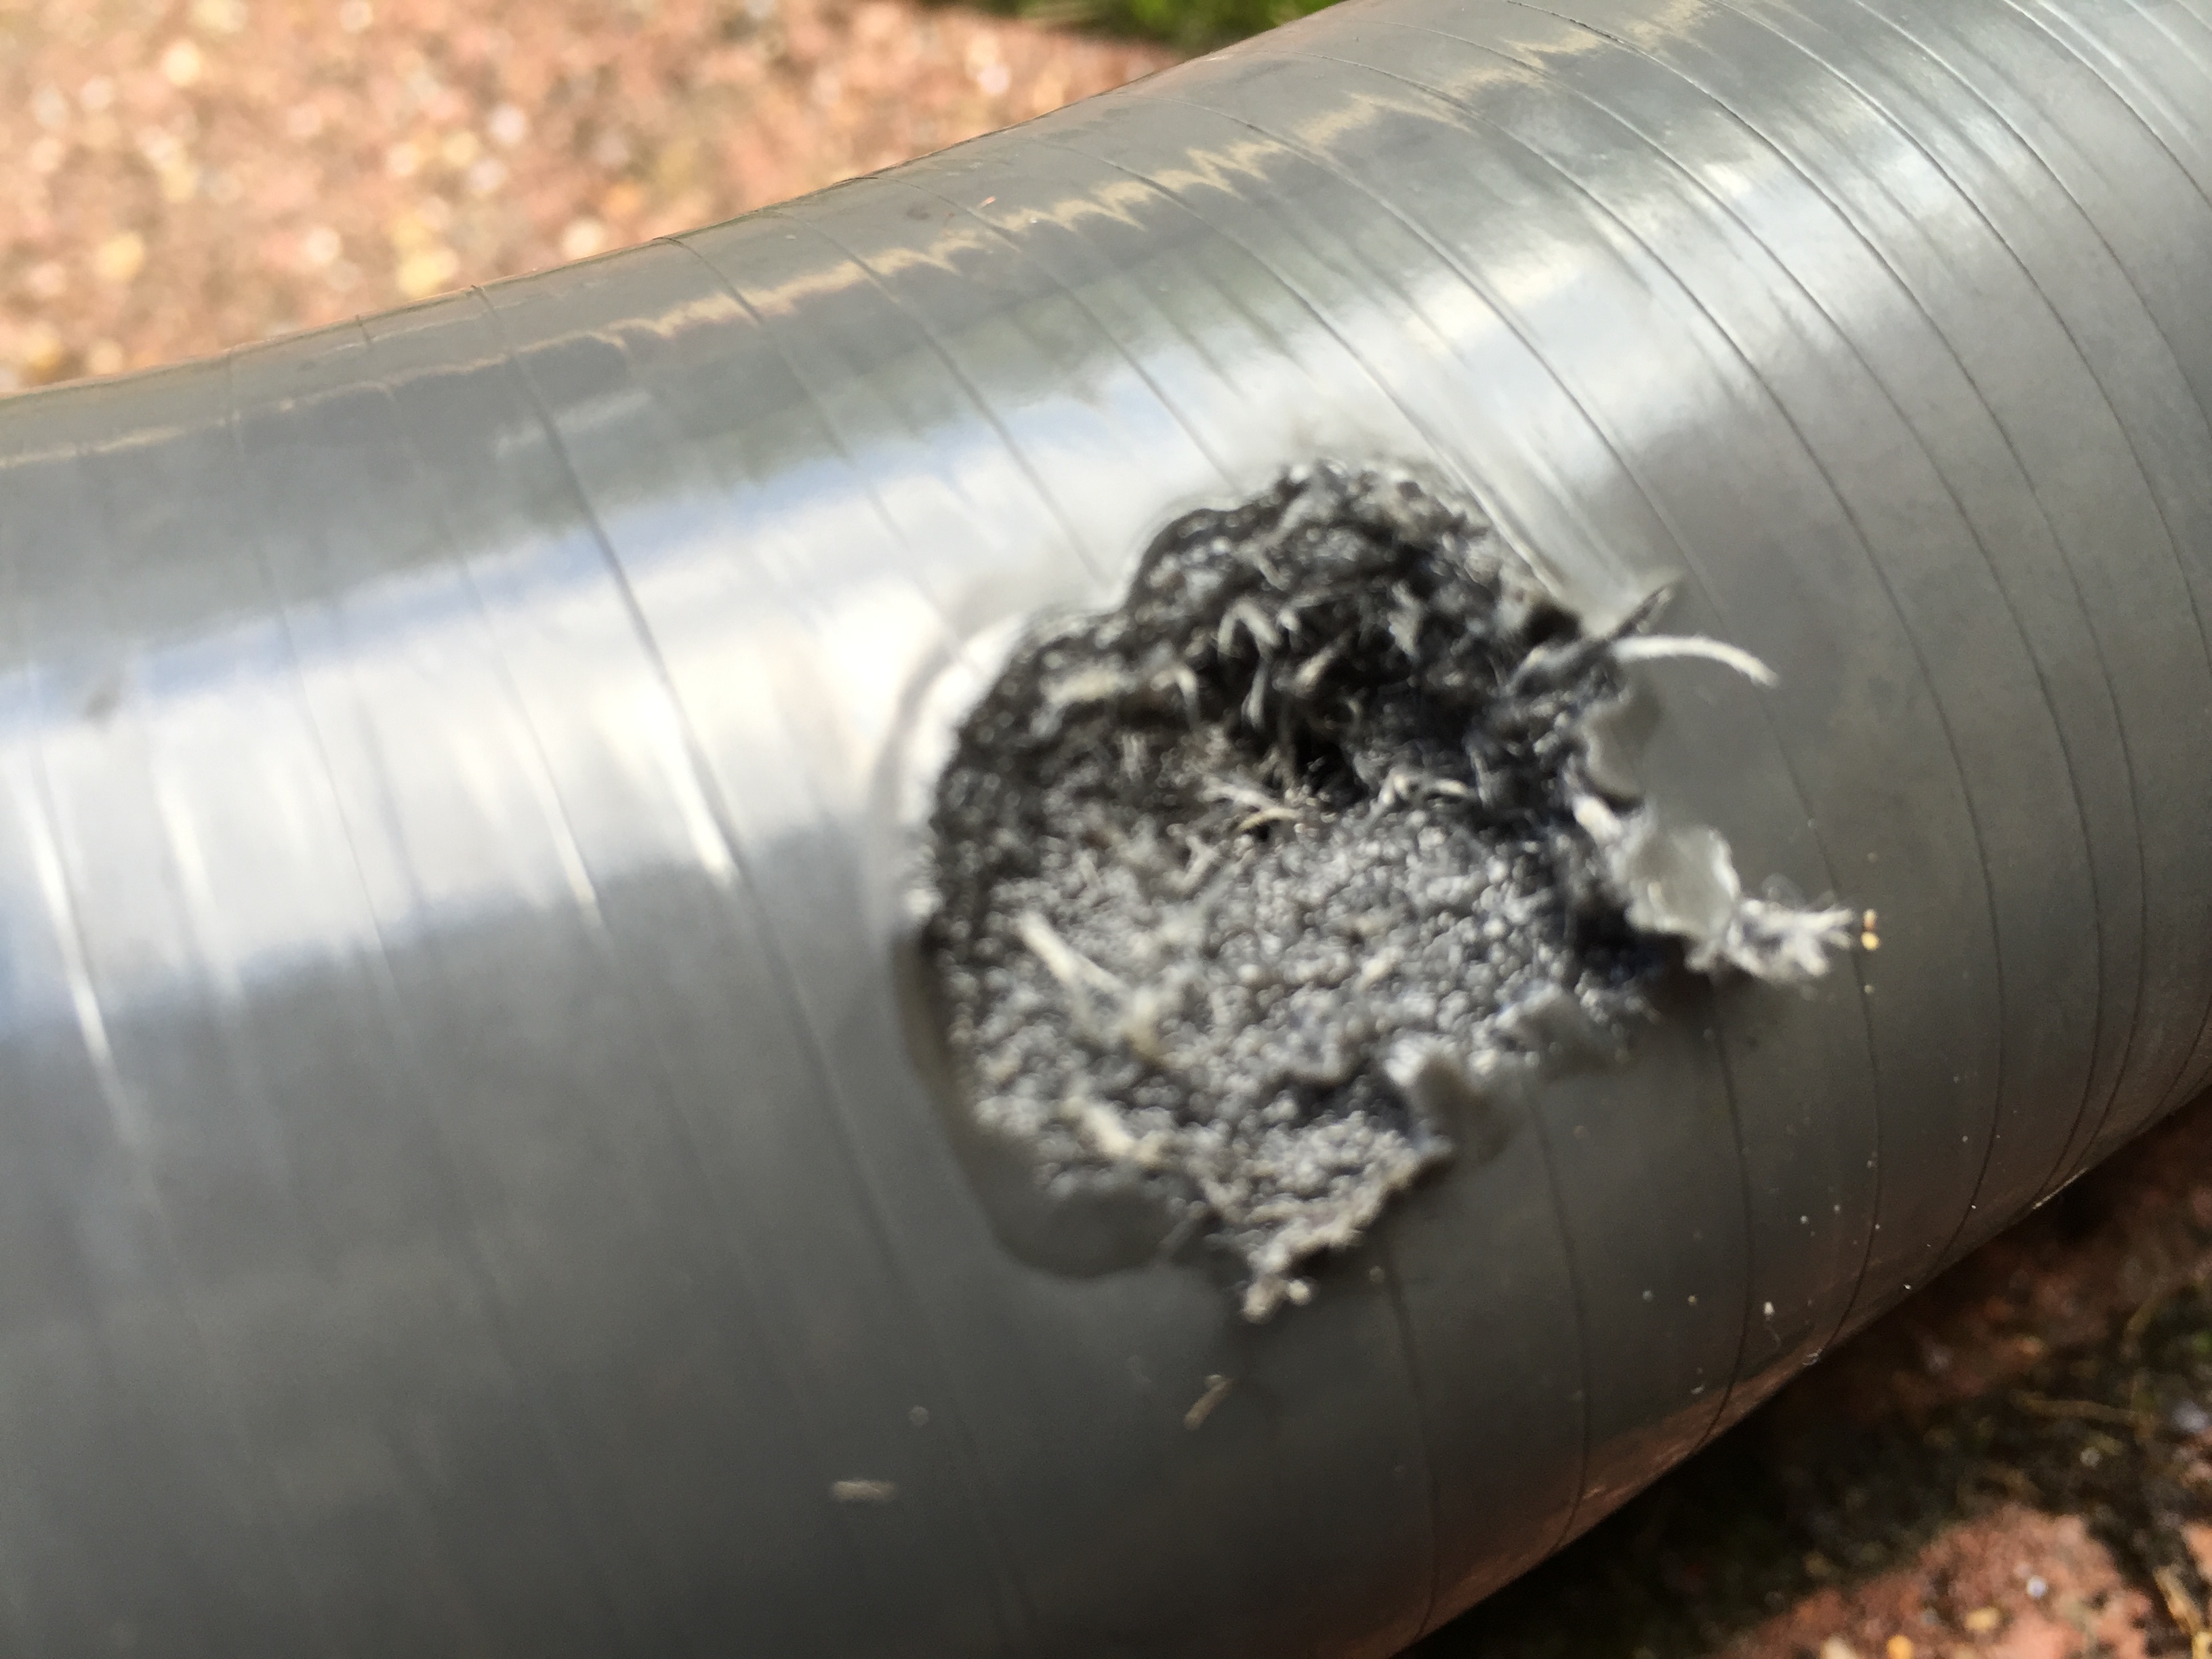
I have used other joins in the past and they have failed repeatedly, to put that in perspective, take a look at the difference between a popular silicon joiner and the ASH one:
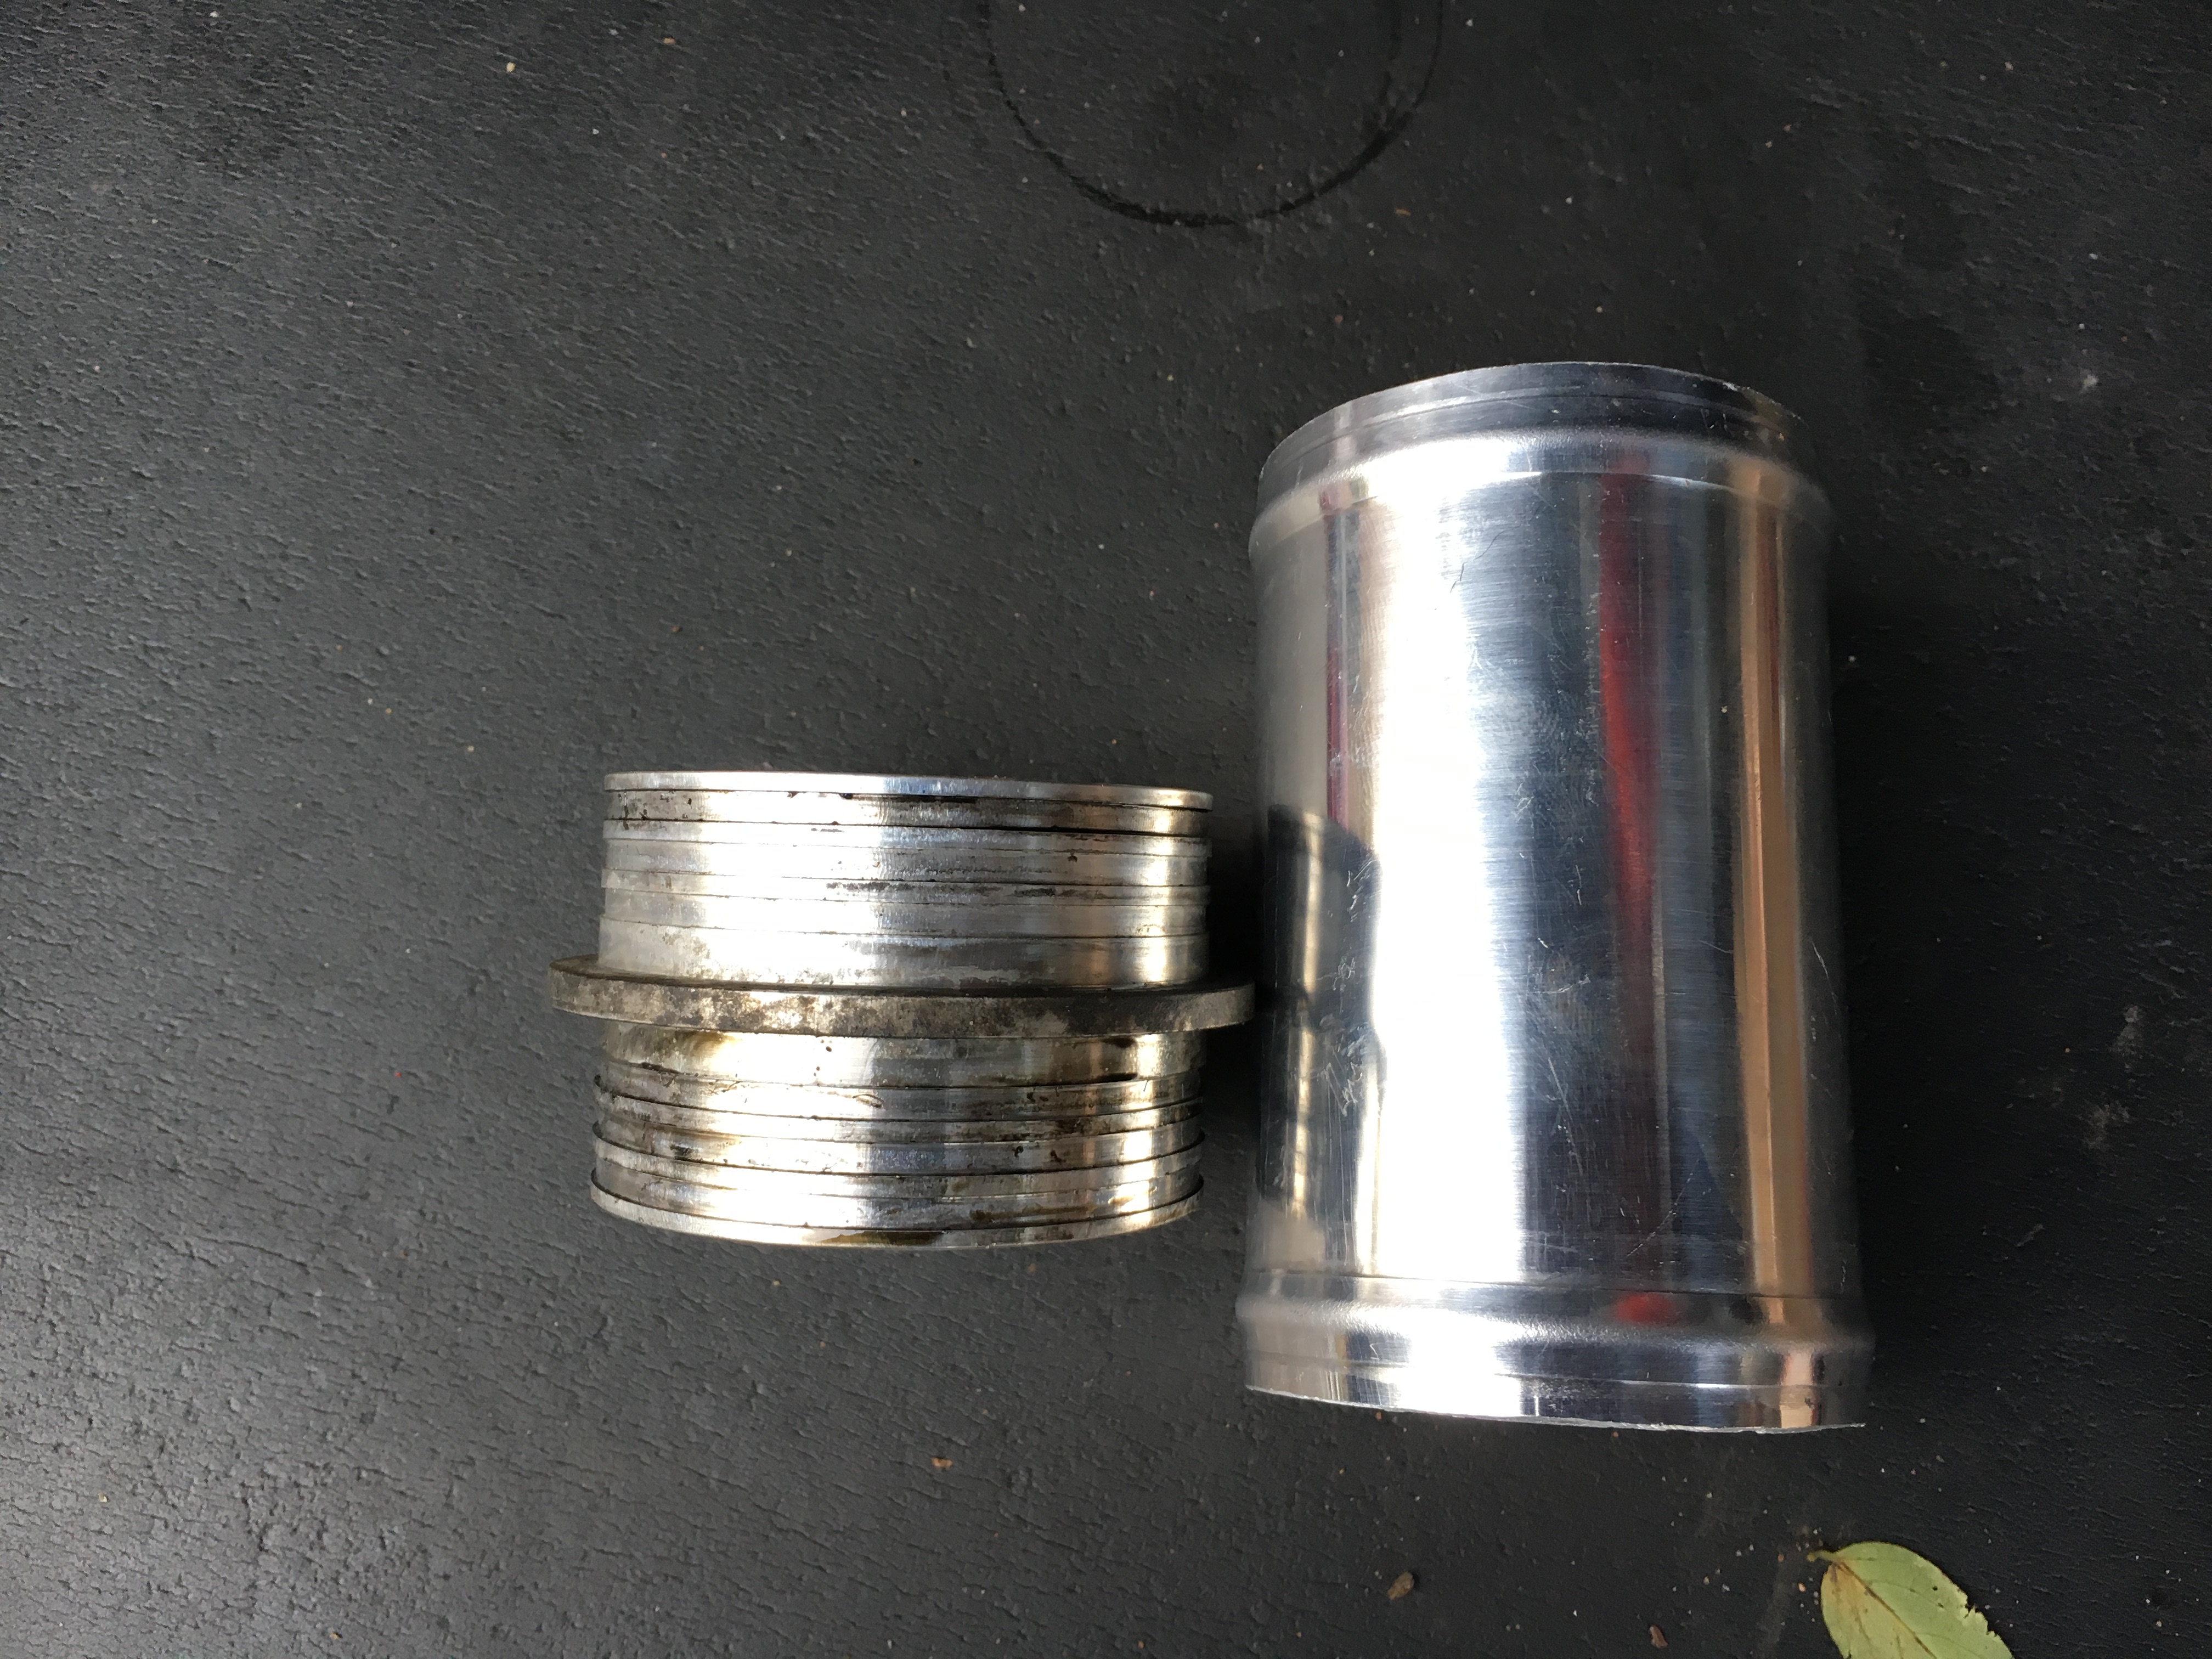

The hot side of the FMIC only needs a single 90 reducer and can be joined directly to the OE pipe with a 63mm joiner.
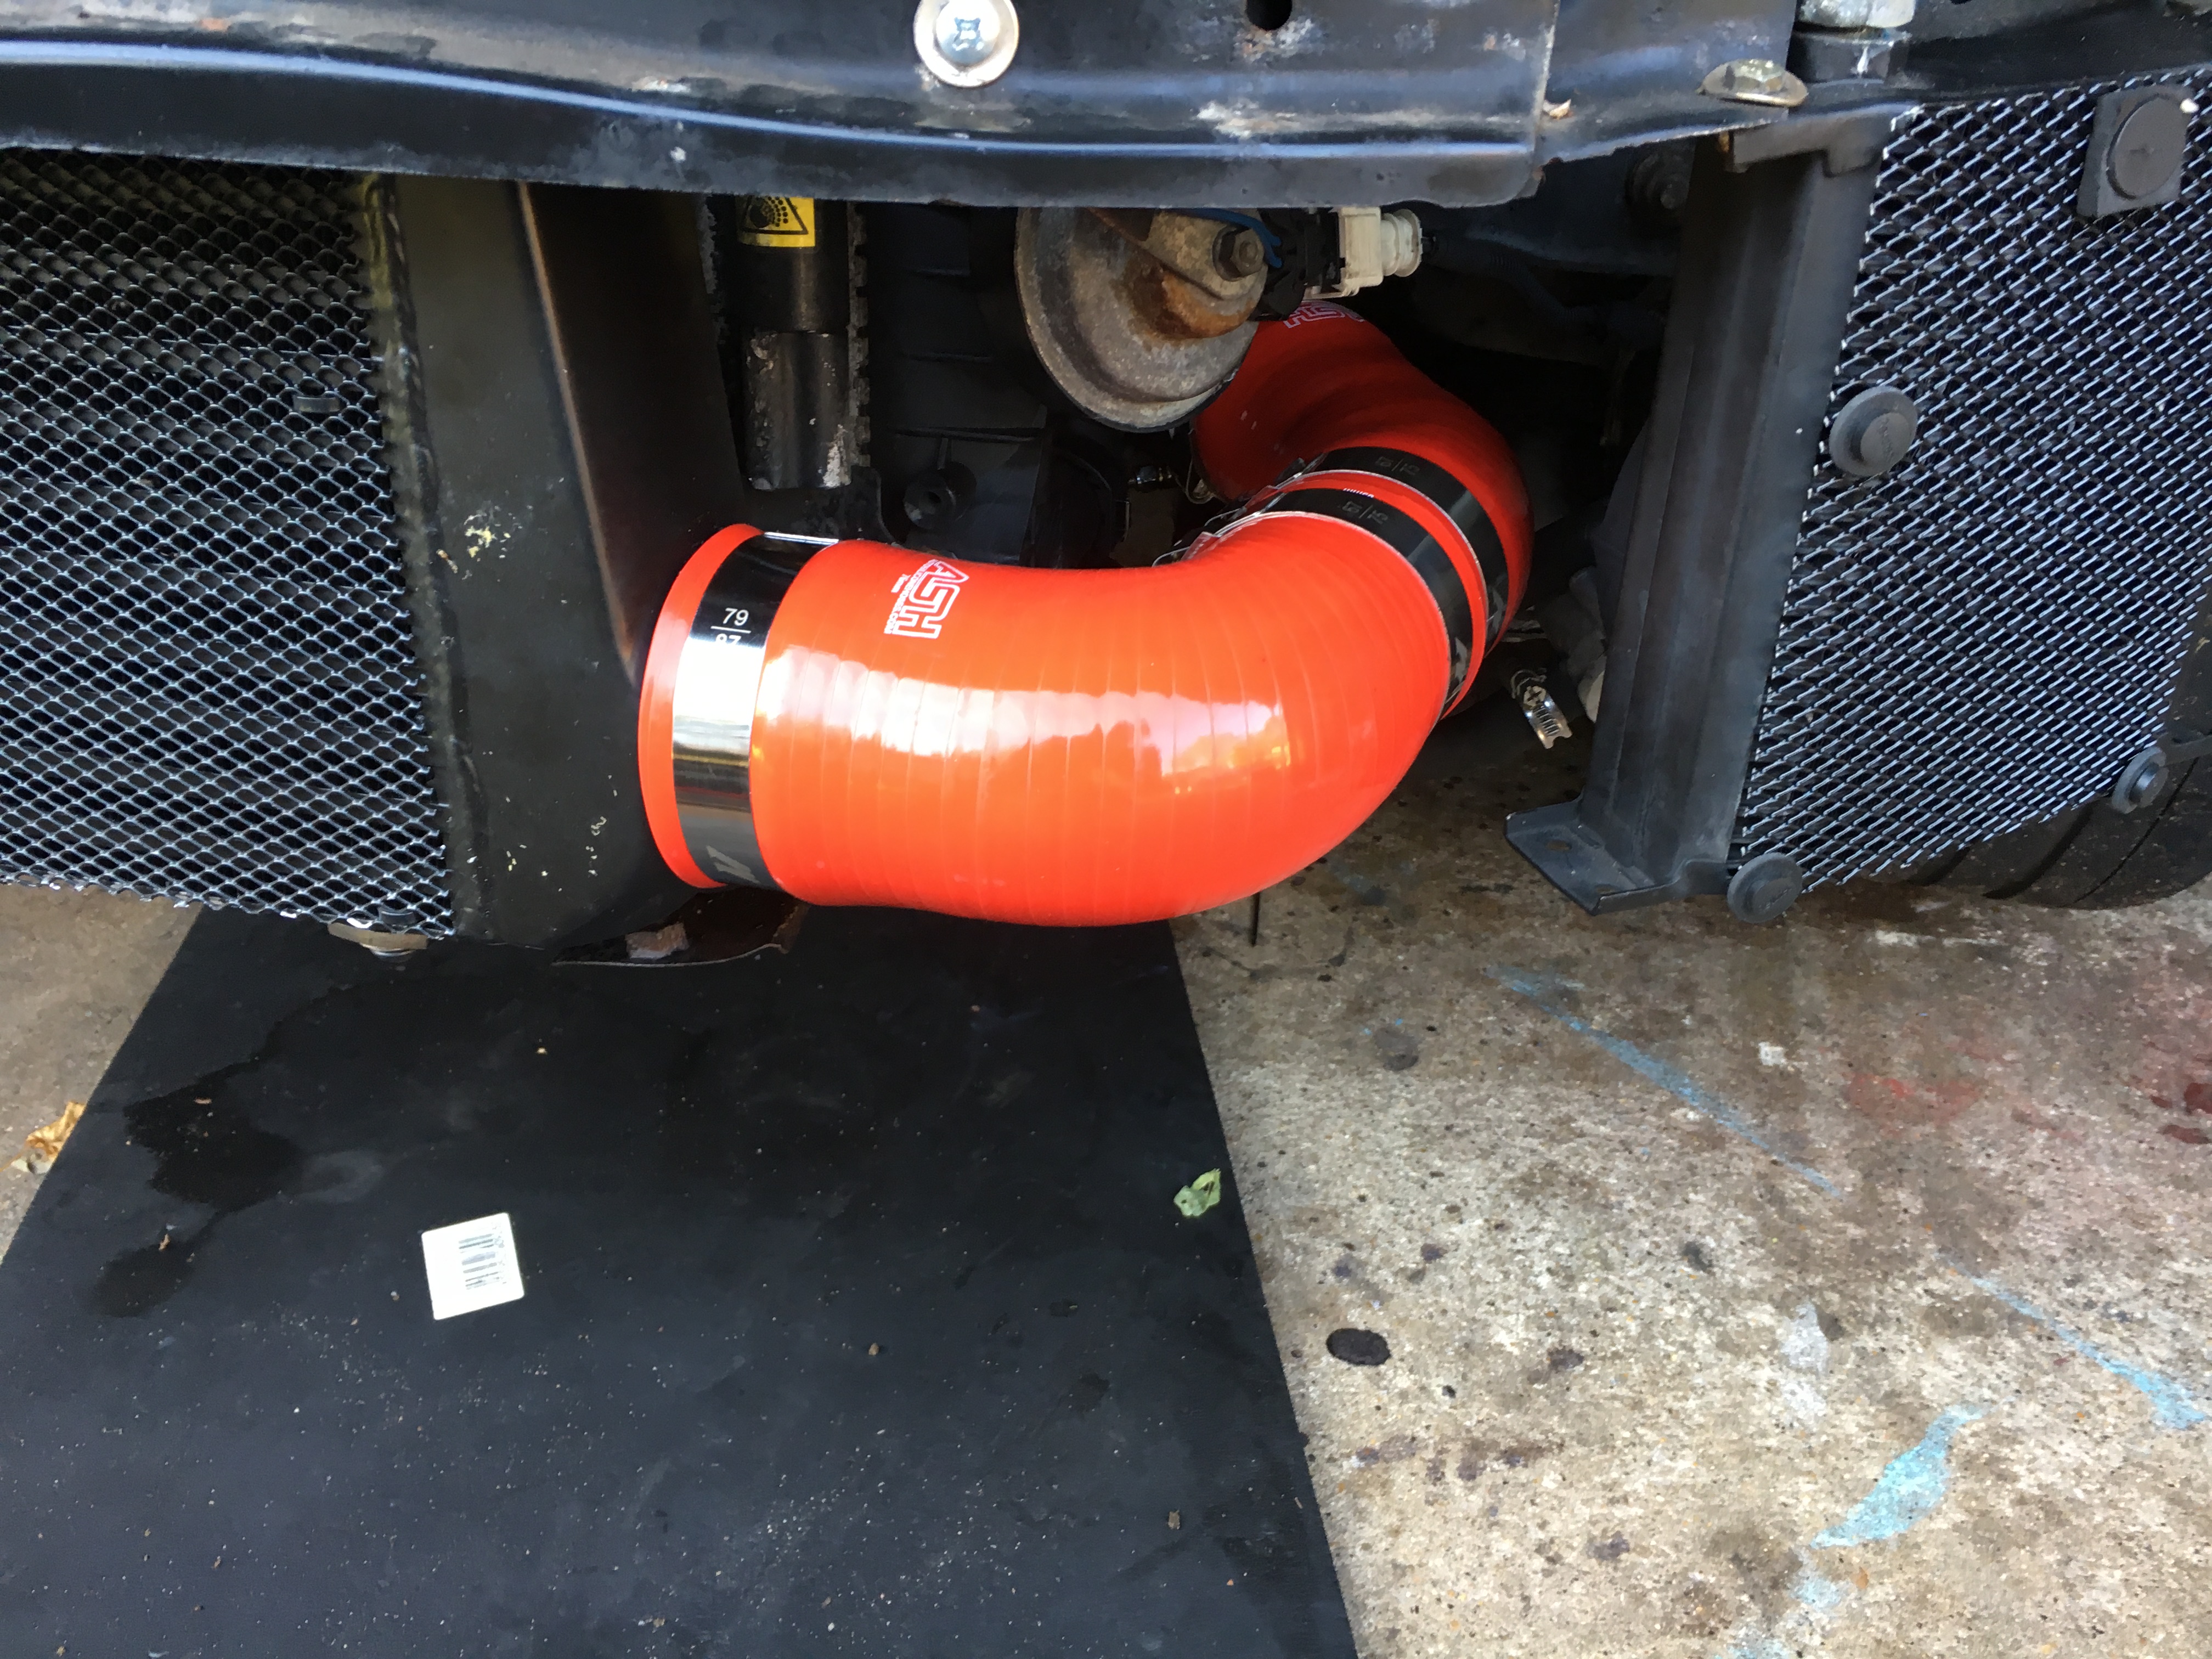
On the hot side you need to trim back the 90 reducer on the 63 side, and join that to the 63 side of the 45 reducer. This will also need to be cut back and the stock pipe will need to be cut back also. These are the only three cuts you need to make but measure twice and cut once! The 60 side joins to the stock pipe where you cut it as its slightly narrower in the middle than at the ends. I’ll caveat that the pipes I used here had already been previously cut. Its possible that the stock cold side pipe may join directly with the 90 and not need the 45 if not cut. Its something you are going to have to test fit yourself!


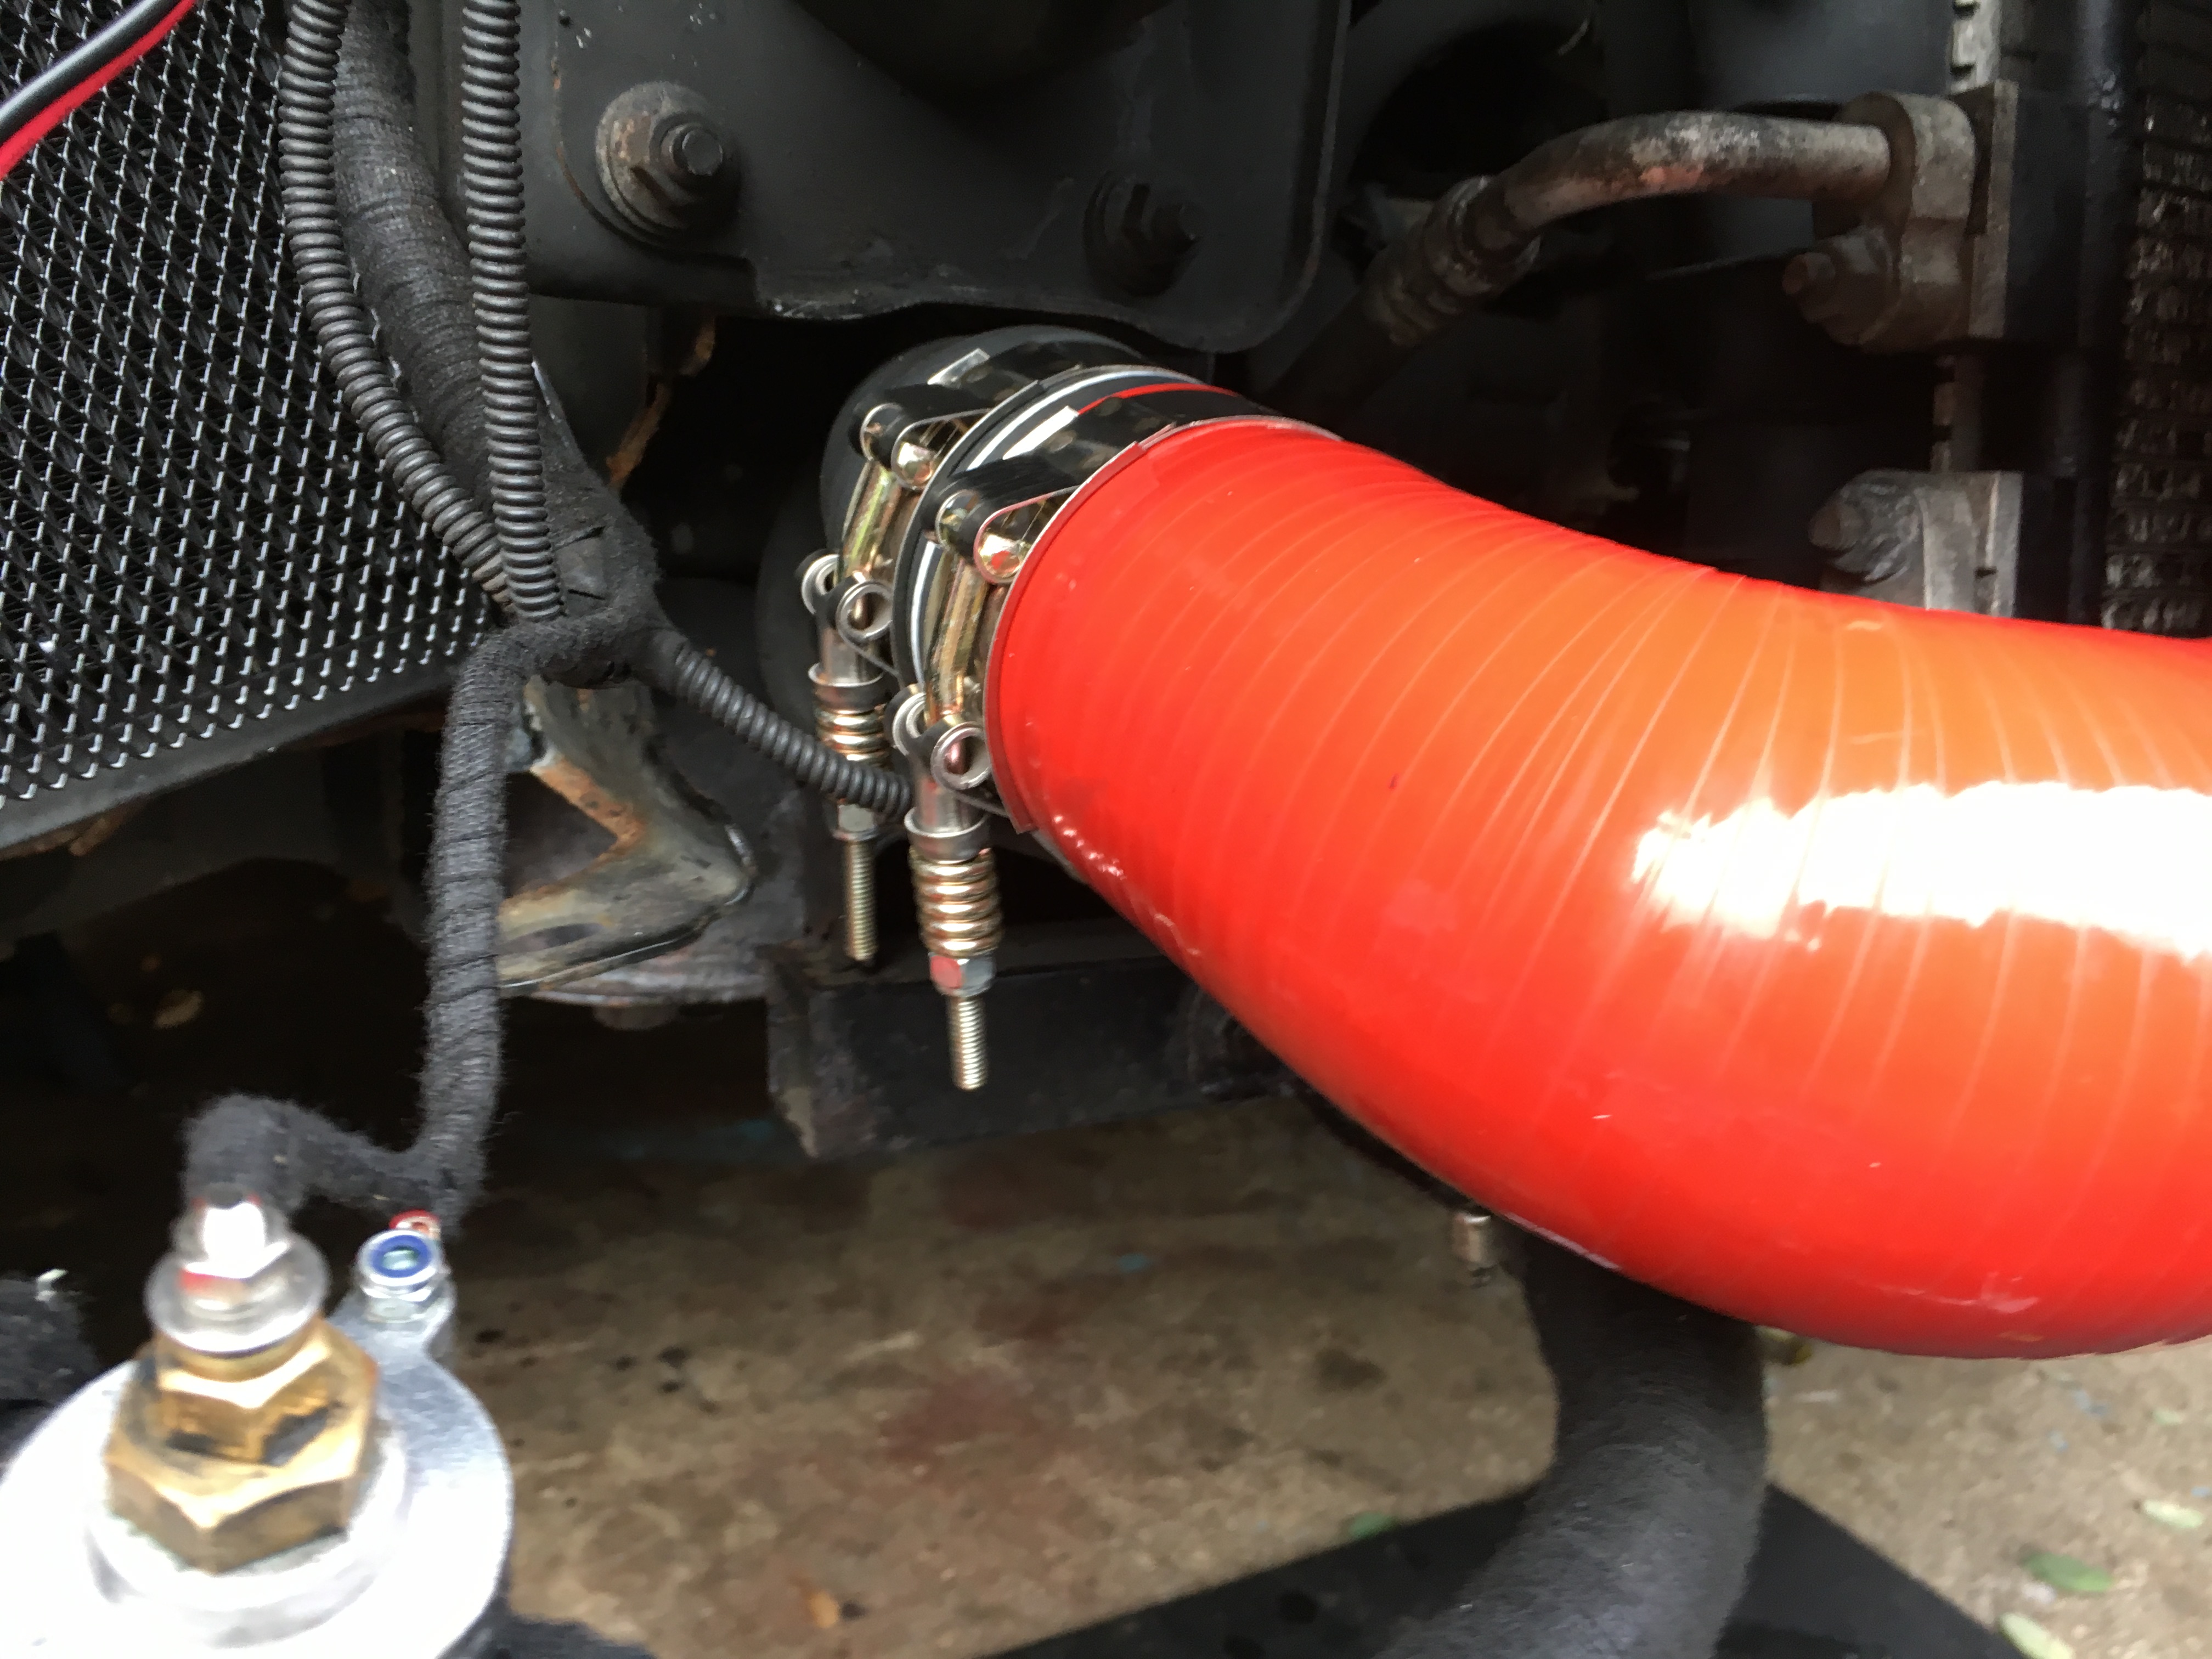
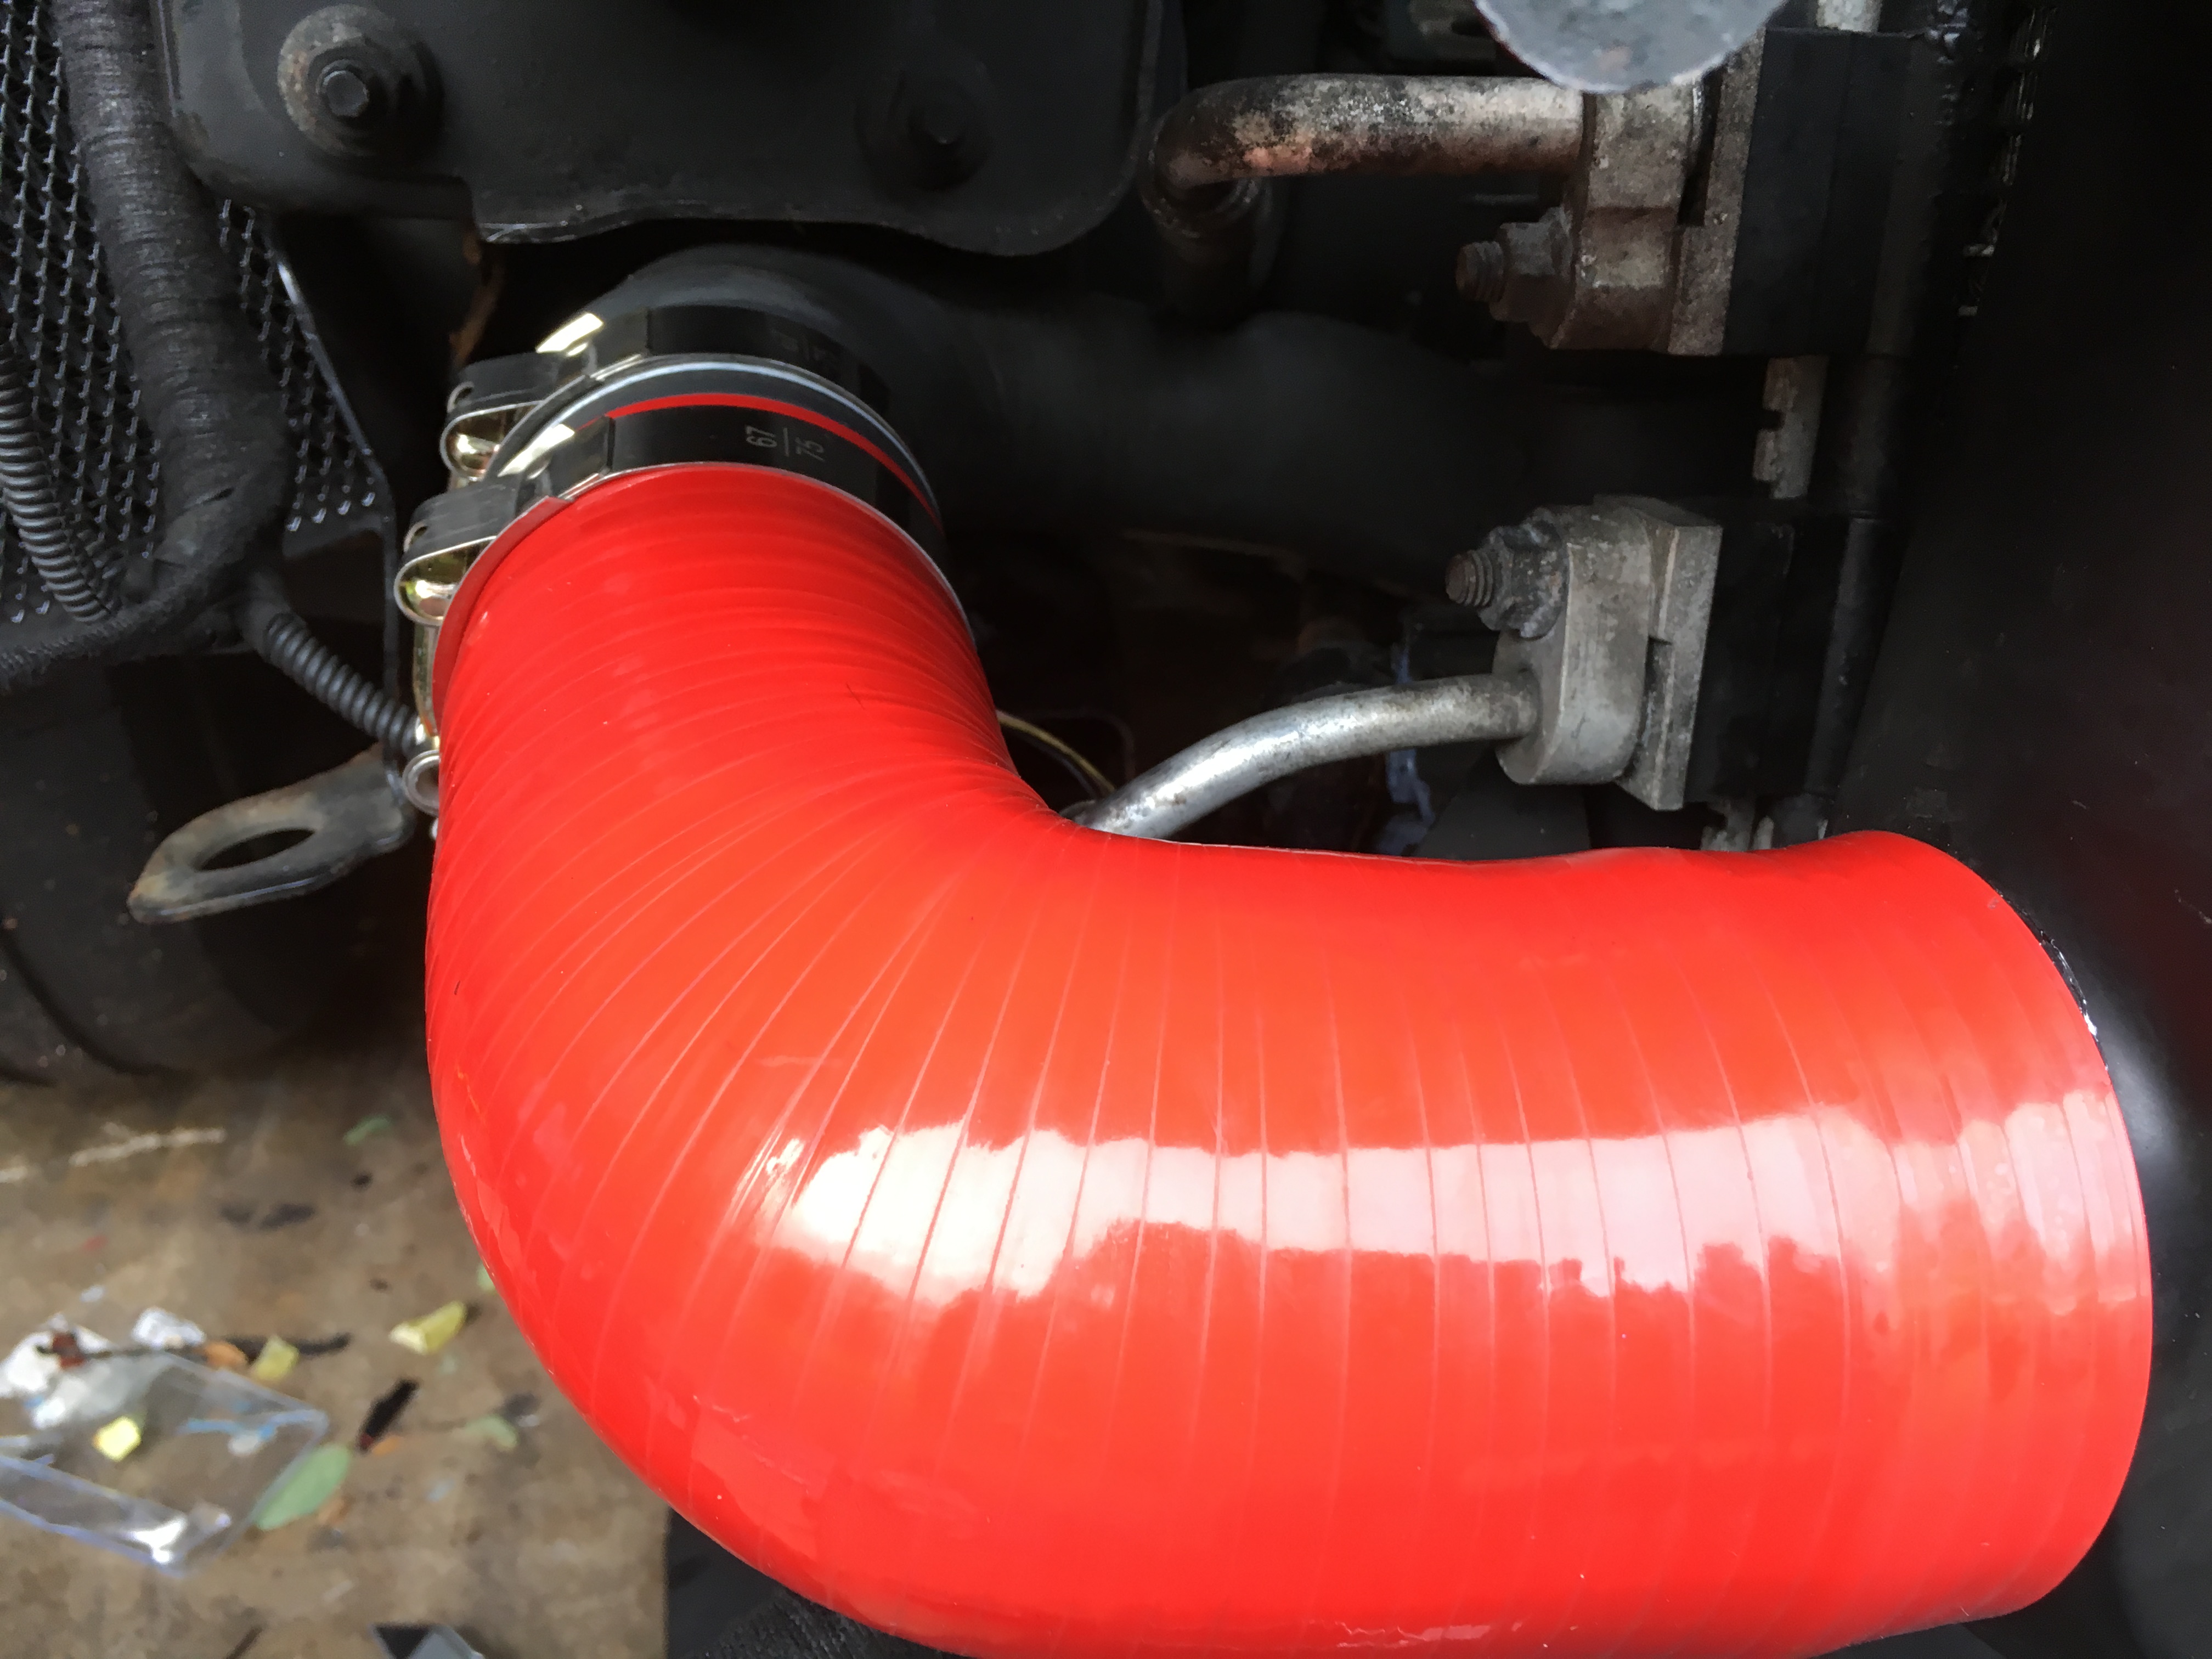
Make sure to place your clamps in such a way as they are easy to get to once the bumper is back on as they may need tightening in the future and this will make life much easier!
Make sure you do not have any pipes catching on anything sharp. If they do they can eventually fail through the vibrations from the engine. I had a previous OE hot side pipe fail as it was rubbing on the frame and it was £100 to be replaced!

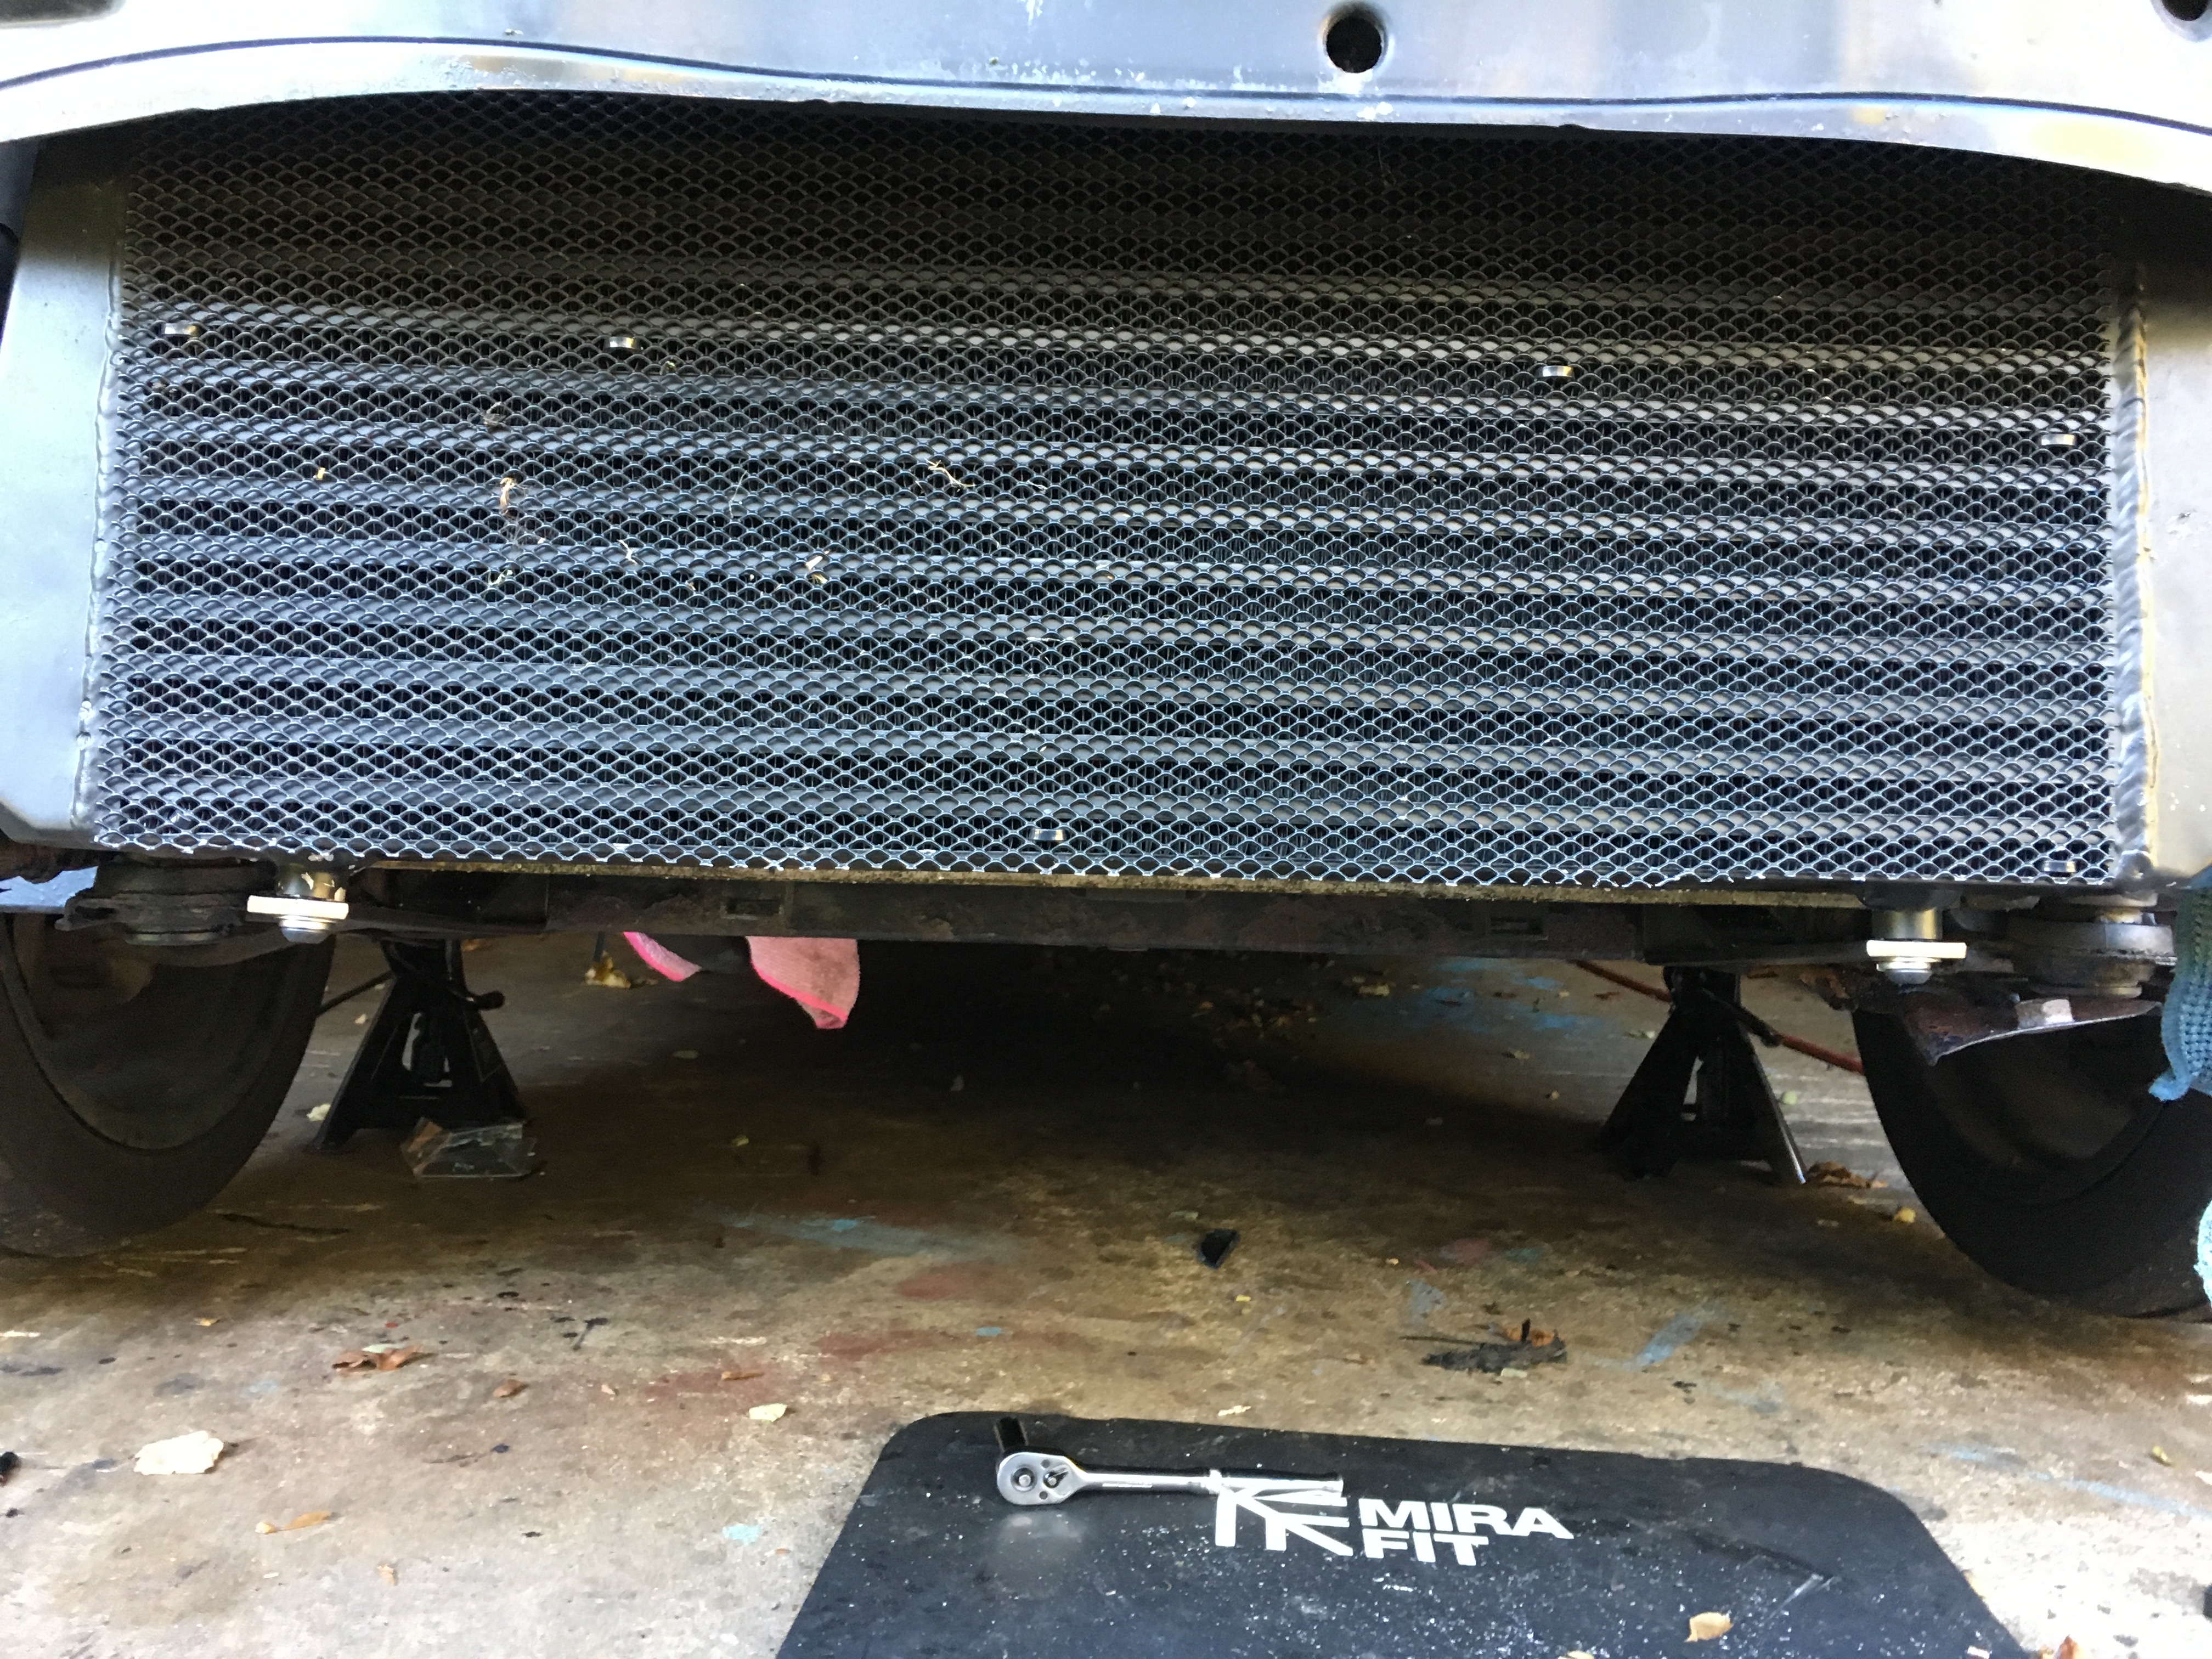
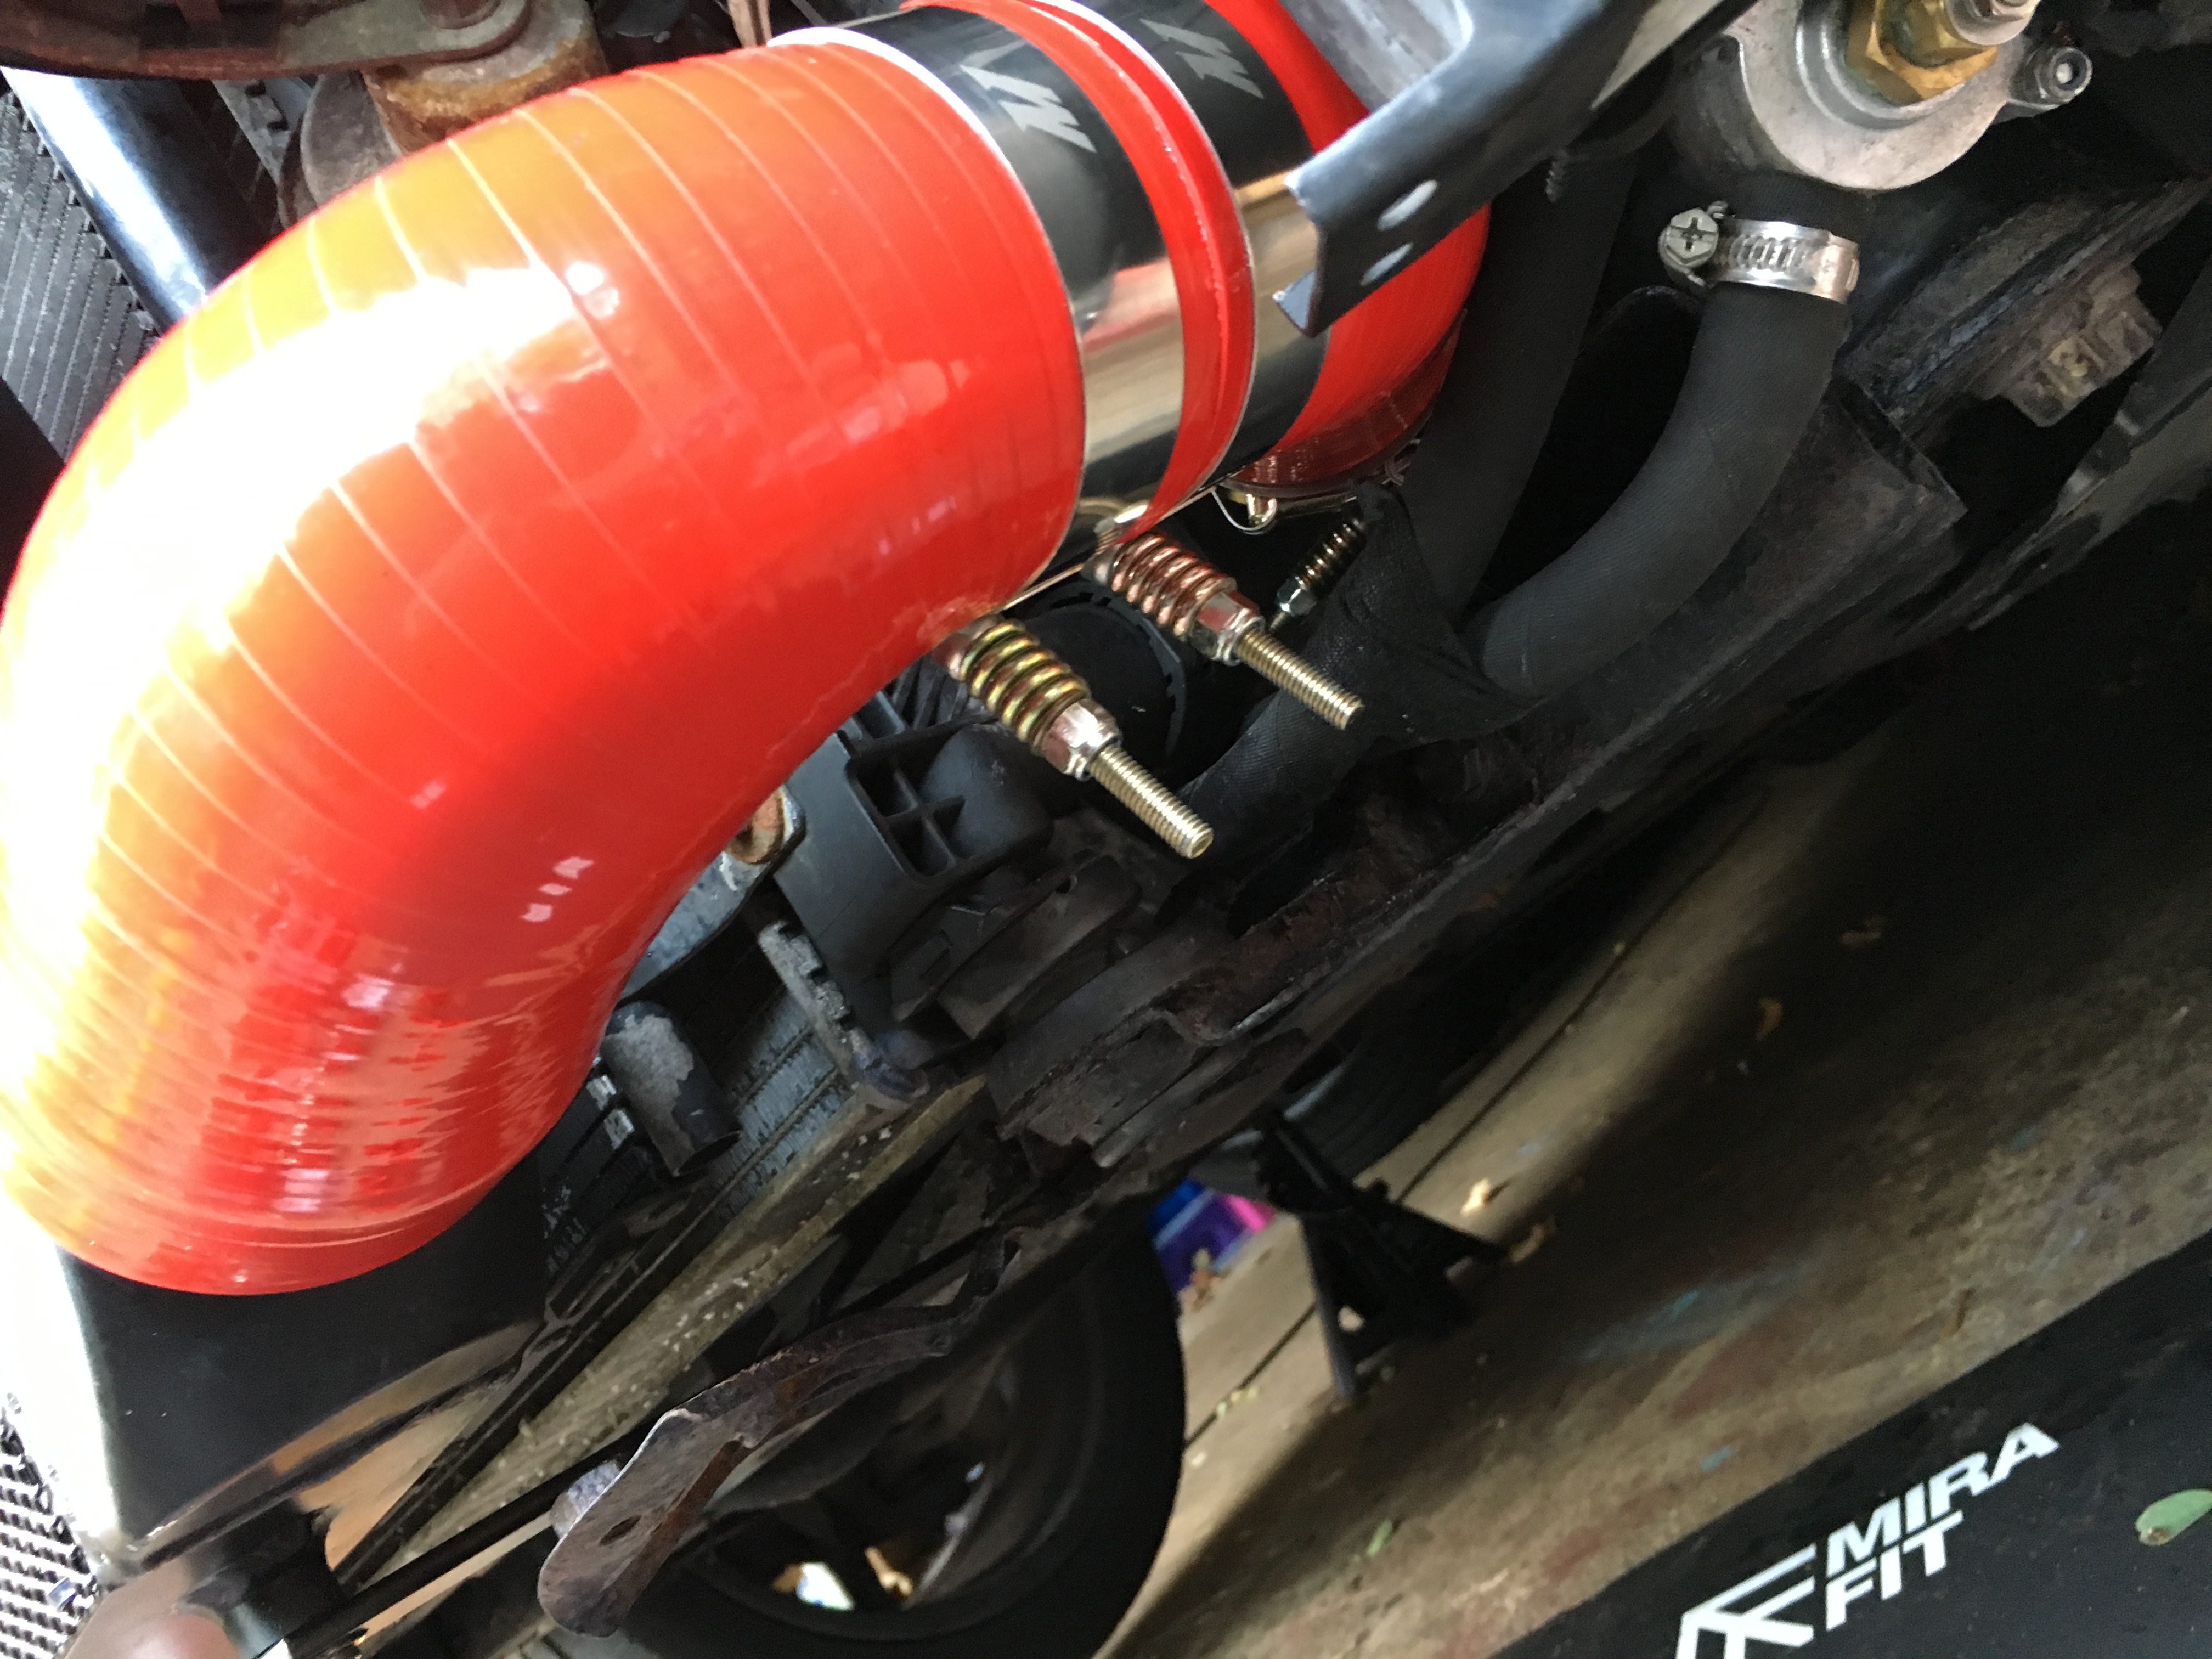
Once you have the pipes all done, it should look a little like this.
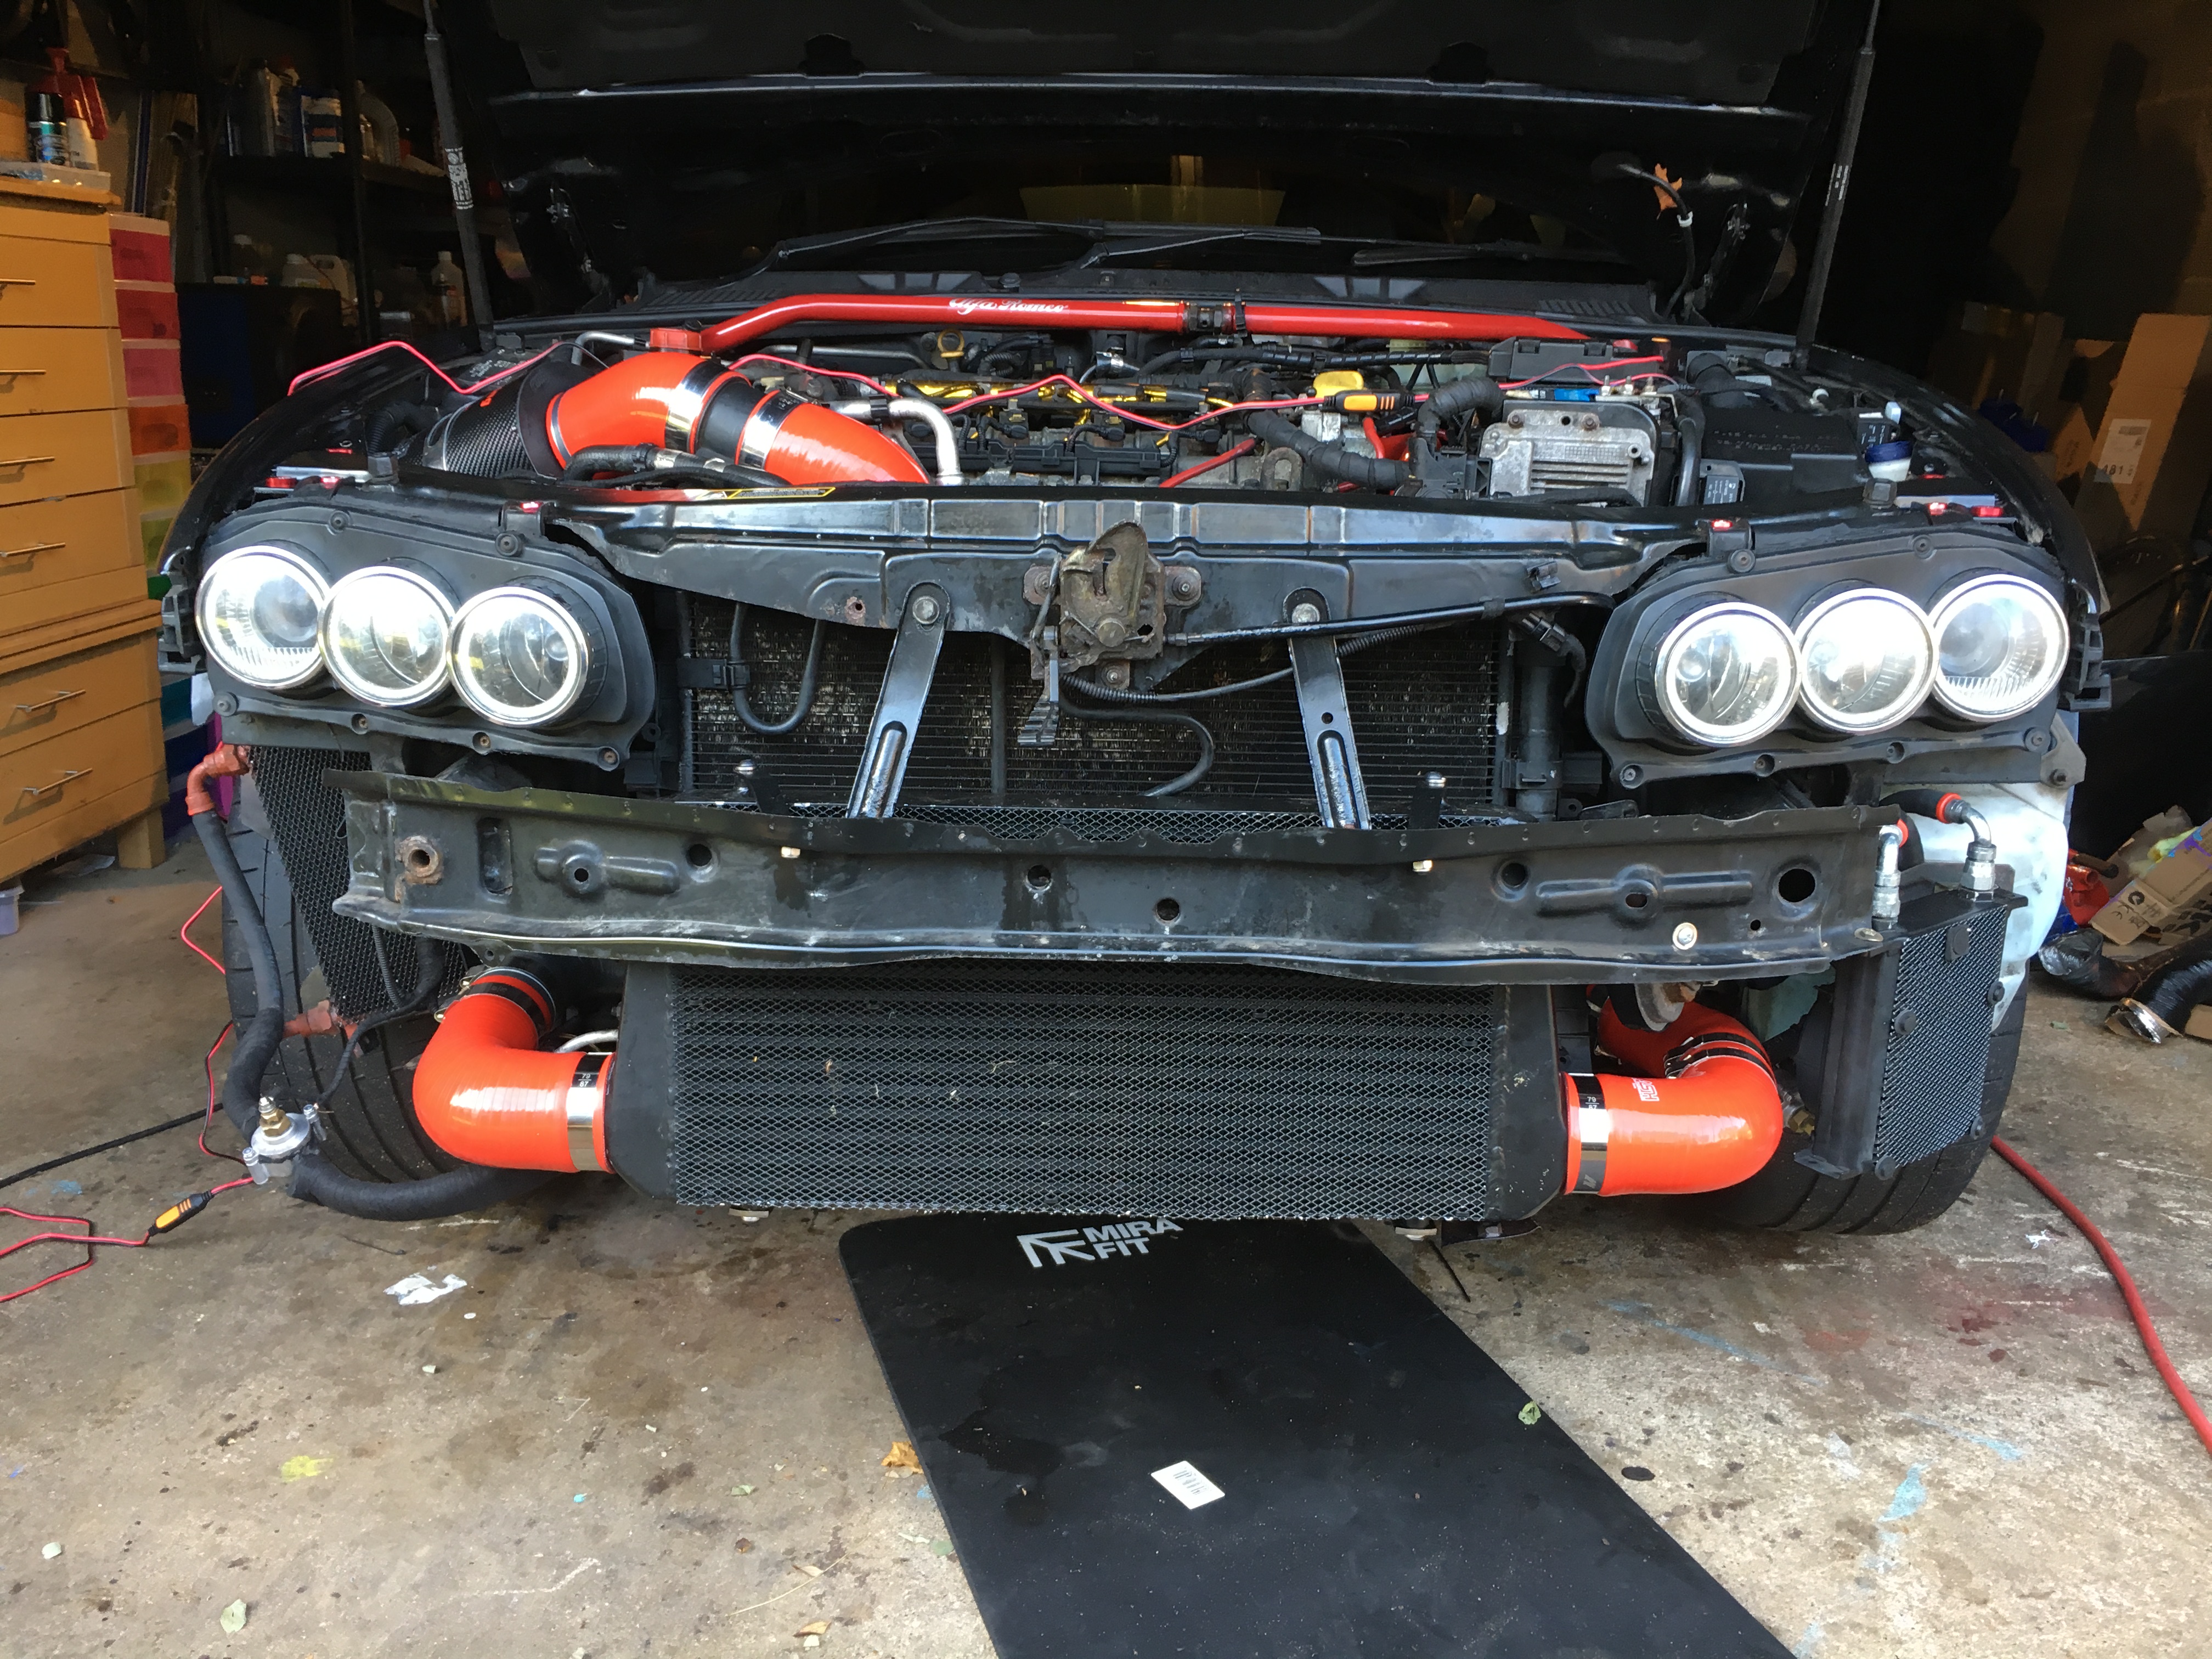


Muy bueno.
Te da más Lag el turbo?
Estoy pensando en hacerlo en mi 159 1.9 150CV con turbo de 2.4.
Ami coche le cuesta un poco cargar el turbo, le costaría más con un intercooler más grande?
Hi Thanks for all the info!
Do you know what pipes did you use for tge cold air intake?
Thank you
What is the mounting diameter of the cone filter?
I don’t know what elements to buy, I can choose filters with a diameter of 60, 70 and 77 mm.
that will be determined by the diameter of you Mass Air Flow sensor.
no, but they are around 80mm which was the size of my Mass Airflow Sensor.
I’ve recently bought a 2007 alfa spider with the 2.4 diesel engine. I’ve had it remapped.. Iam very interested in your post about the intercooler upgrade.. How much hp do you think it will add.. Also where does the original radiator and oilcooler go to…
There is plenty of room once you remove the original intercooler to leave the oil radiator in tact. In fact you should be able to “shuffle the pack” and remove the intercooler without having to disconnect the aircon rad or the oil cooler at all.
Jay thanks for the speedy response to my questions about the intercooler.. Iam going to give it a go. I priced up the materials… Do you think its a kind of job middle of the road home mechanic can do? Wish you was in Wales so you could fit it lol.
Its an easy job and pretty obvious what to do once you get into it. Best of Luck!
Jay just a quick thought I’ve had.. Do you need to remove the stock intercooler, if you just install the custom intercooler, and do the brackets you made fit directly onto subframe? So for so many questions 😭 email.me if it’s easier?
I’m not sure if there is enough room if you leave the OE cooler in place. I would not do this personally as its leaving extra weight up front, but it could be possible. My suggestion would be to fit the brackets first and see what room you have, as the brackets don’t touch the OE cooler pack at all so will show you the position of the FMIC without impacting any existing systems. Good Luck!
That looks absolutely like a beast!
Love your conversion & your work,
My Alfa dealer won’t fit a conversion as she’s a 1.9 diesel 😥
I’m absolutely gutted 😵
I really wanted this look…..
& Help her breathe better 🤦 I don’t understand 🤷
Help me out please guys with some advice…
I know ya boys are good…..spotted the ZX1 !
Golden milk 💯⚡💨
Jay, how were your feelings about the turbo lag after the upgrade? The cooler has about twice as big volume than the stock one.
Also how much time would you say is needed to do this mod (considering I have all the necessary items) for a novice (done some basic mechanic stuff with the car, know which direction to turn the bolts, but don’t have any proffesional experience)?
Hi great MOD which I ma conducting on my 159 2.4. I am really struggling to get the 60 – 63 @45 degree reducer elbow.
Did ASH have these in their stock?
Thanks for sharing all the detail its appreciated
Cheers
Jon
Salve ho la stessa auto ma con il cambio manuale….potrei montare lo stesso radiatore che hai usato per il cambio in sostituzione con quello per l’olio motore?
That wouldnt be an optimal choice. The same type of radiator, yes, eg any suitably sized Mocal oil radiator can replace the stock one. but the stock one is perfectly good.